

Setting up SSO for an organization is done by Scanova’s team, not by customers themselves — there’s no self-service SSO configuration screen in the app today. If you’d like SSO enabled for your organization, contact support with your identity provider details. This page covers the sign-in experience once that setup is complete.
Signing in with SSO
From the login page, select Continue with SSO (below the email/password form) to go to the SSO sign-in screen at/auth/sso.
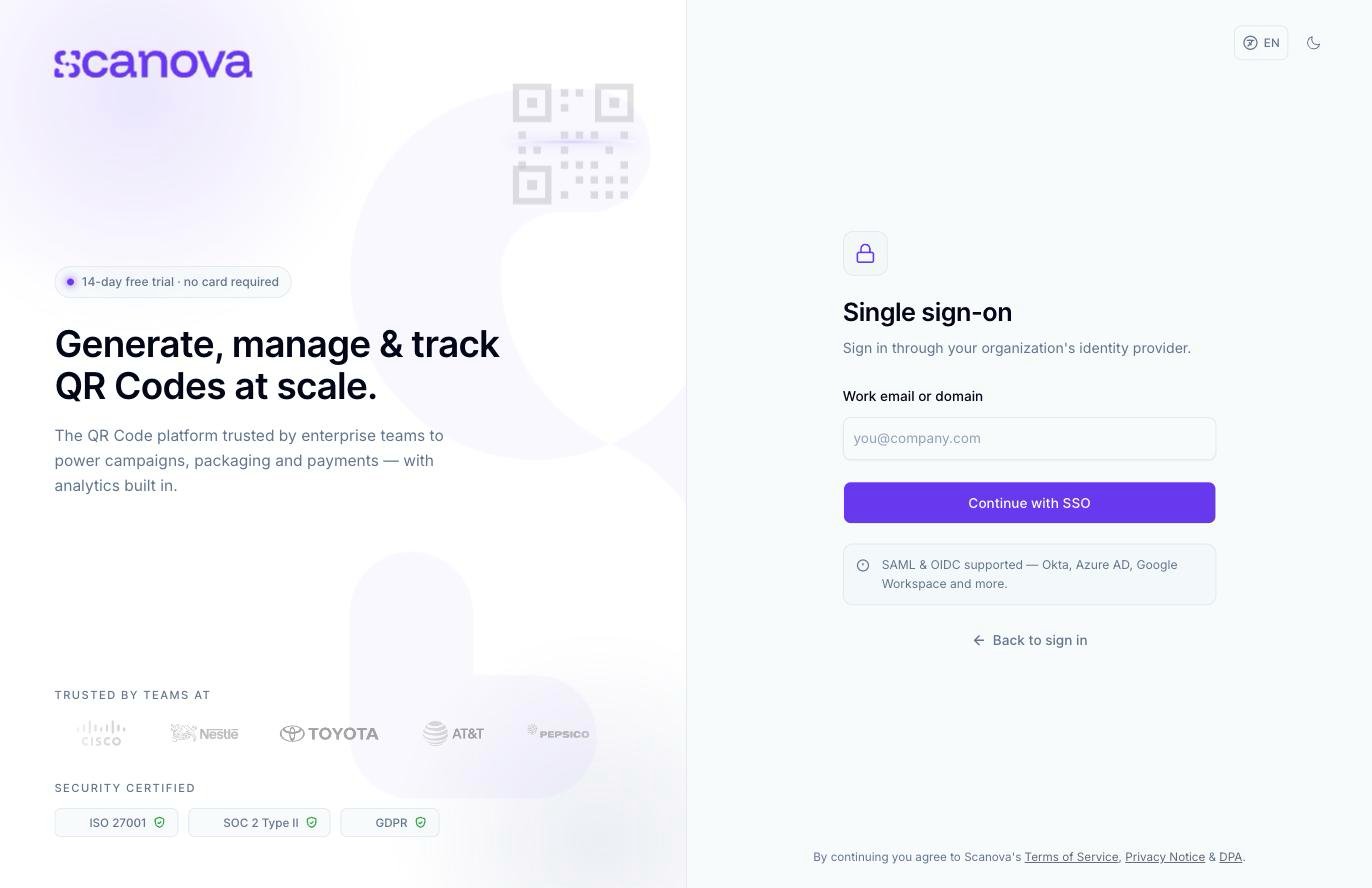
The SSO sign-in screen, reached via Continue with SSO on the login page
1
Enter your work email or domain
Type the email address or domain your organization uses with Scanova (for example,
you@company.com).2
Continue to your identity provider
Select Continue with SSO. Scanova redirects you to your organization’s identity provider to complete authentication there.
3
Complete sign-in with your identity provider
Once your identity provider confirms your identity, you’re redirected back to Scanova and signed in.
Accounts using SSO
If your account signs in via SSO, a few things work differently elsewhere in Scanova:- No password — there’s nothing to change under Account → Login & Security, since your identity provider handles authentication
- No MFA settings — the multi-factor authentication option is hidden entirely, since your identity provider is responsible for any additional verification it requires
Related
- Multi-factor authentication — MFA setup for password-based accounts (not applicable to SSO accounts)
- Google login — a separate sign-in option, distinct from organization-wide SSO