

Lead Lists are a legacy feature
The app displays this banner at the top of the Lead Lists page:Important Update Lead Lists have now been replaced by Forms — a more flexible and unified way to capture leads. You can still view and export your existing Lead Lists, but new lead collection setups should be created using Forms.
What a Lead List is
A Lead List is the pre-Forms way of collecting visitor contact details (name, email, phone) through a QR Code’s landing page. Each Lead List is a standalone collection of entries, optionally linked to one or more QR Codes so their scans can feed the same list. Scanova no longer exposes a way to create a new Lead List from the app — the Lead List entry in the sidebar (under Forms, tagged Legacy) only lets you manage and export lists that already exist on your account. New lead-collection setups go through Forms instead.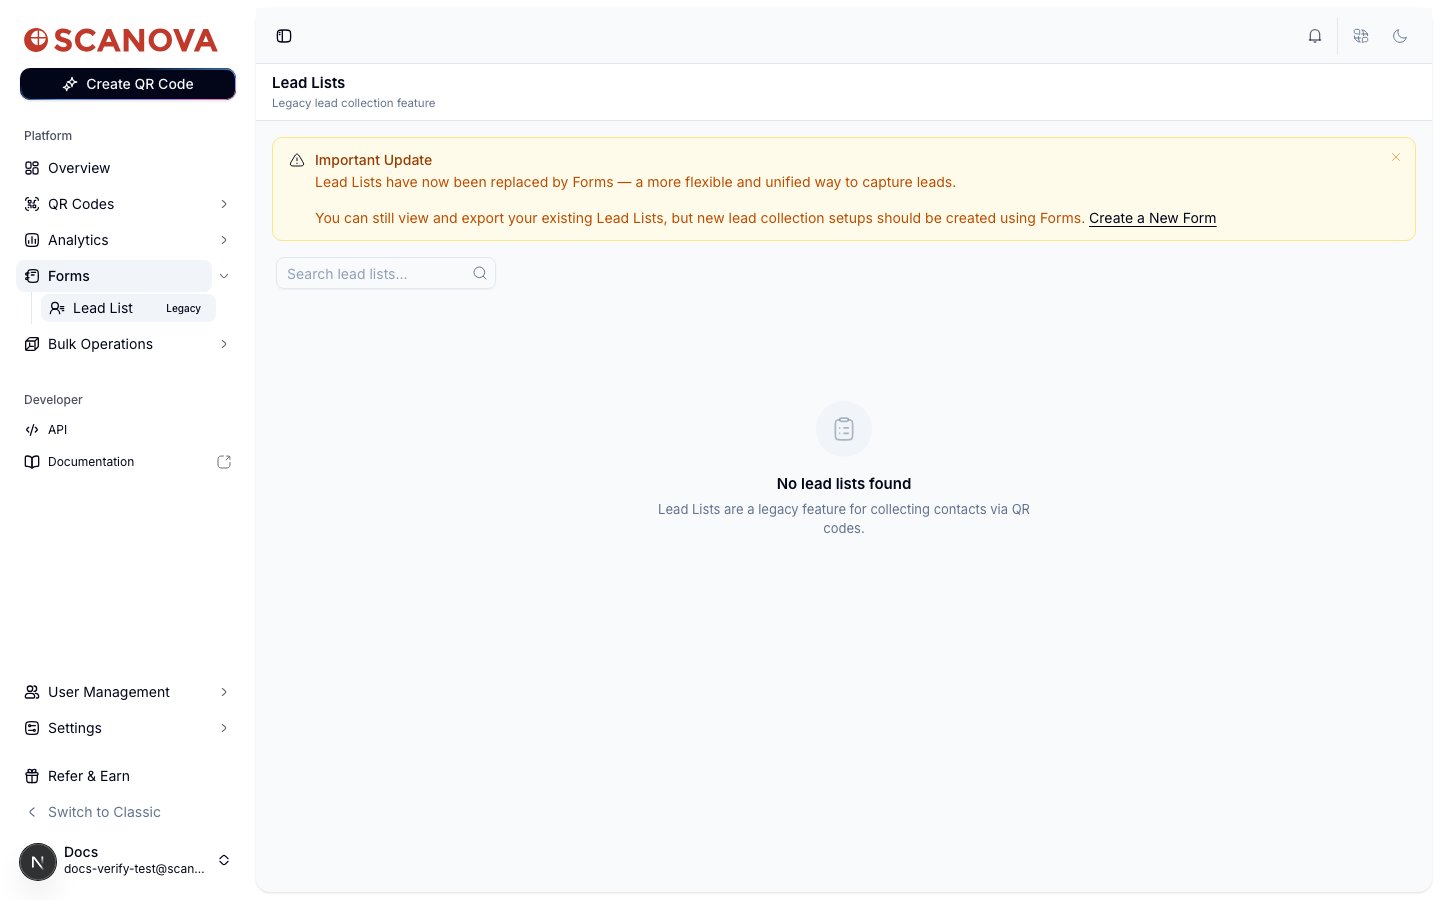
The Lead Lists page on a fresh account — no lists yet, with the legacy migration banner shown at the top
The screenshot above is a genuinely empty account. If your account has existing Lead Lists, they list in a table instead, with columns for Name, QR Codes (how many QR Codes feed this list), Entries (total captured contacts), Status (a Converted badge if the list has already been migrated to a Form), and Created.
Opening a Lead List
Go to Forms > Lead List in the sidebar, or navigate to/lead. Click a list’s name to open its detail page at /lead/[id].
The detail page repeats the legacy warning, this time with a Migrate to Form → button that converts the list into a Form (see below), and two tabs:
- Entries — the raw captured contacts: submission date, name, email, phone, and which QR Code the entry came from. This is also where you export the list’s data — see Downloading end-user & RSVP data for how that export works.
- Analytics — total entry count and a breakdown of entries by source QR Code, with its own Export Analytics button for the aggregated numbers
Migrating a Lead List to a Form
Click Migrate to Form → on a Lead List’s detail page to convert it. This creates a new Form from the list and redirects you to it — a one-way move meant for accounts still relying on old Lead Lists that want the newer Forms feature set (conditional logic, email notifications, and analytics on the Form itself).Deleting a Lead List
From the Lead Lists table, use the row’s action menu and choose Delete. The confirmation dialog warns that this permanently removes the list and all its entries — there’s no undo.Related
- Downloading end-user & RSVP data — how exporting a Lead List’s entries actually works
- Form responses — the modern, non-legacy way to view submissions once you’ve migrated to Forms
- Building a form — set up a new Form instead of a Lead List for new lead-collection