How deleting a QR Code works: it moves to the Trash, keeps serving scans or stops, can be restored for 30 days, and is then permanently removed for good.
Deleting a QR Code from the main list never removes it immediately — it’s a soft delete. The QR Code moves to Trash, where you have 30 days to restore it before it’s gone for good.
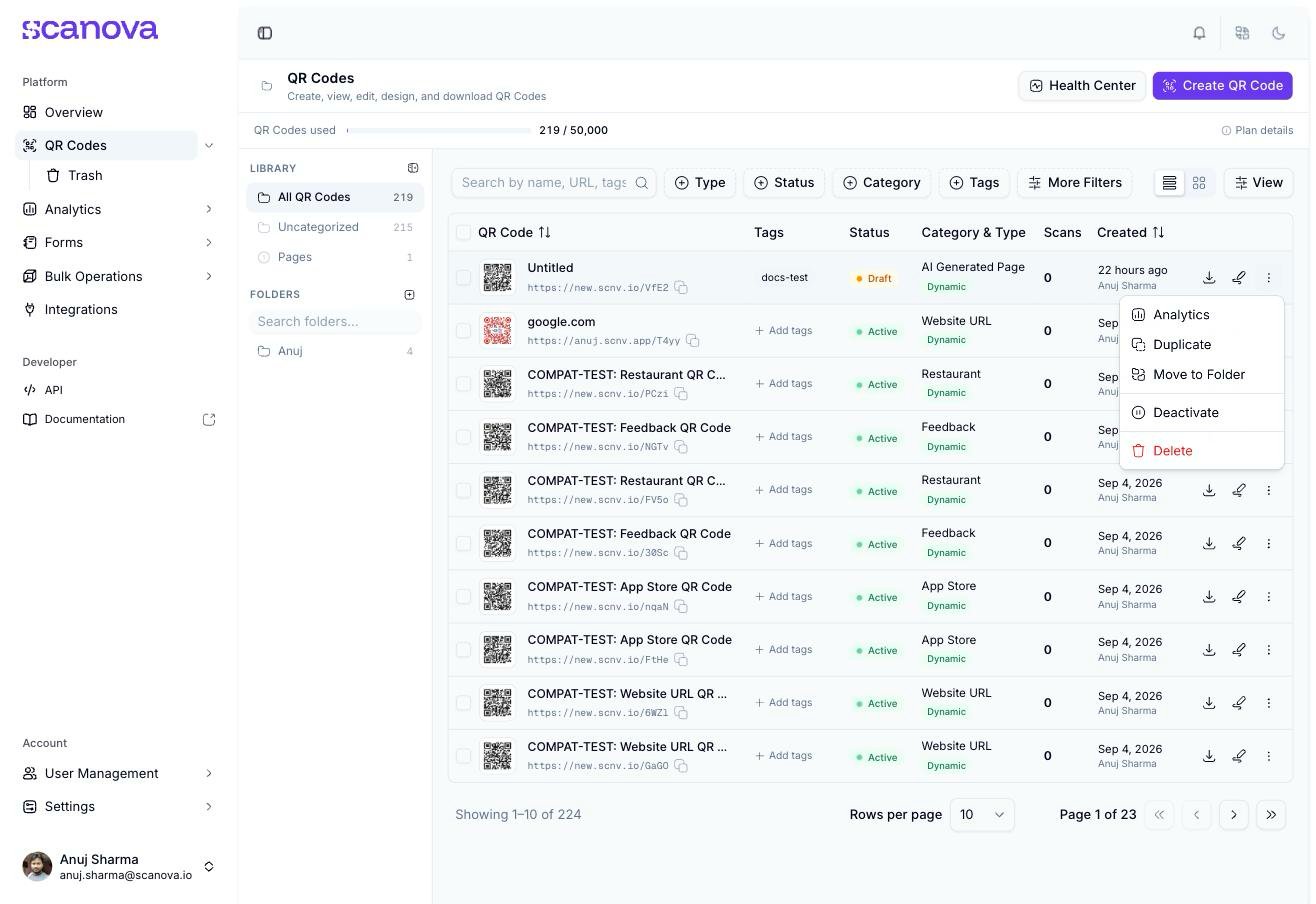
From /qr/list, click the ··· menu at the end of a QR Code’s row and choose Delete.
2
Confirm
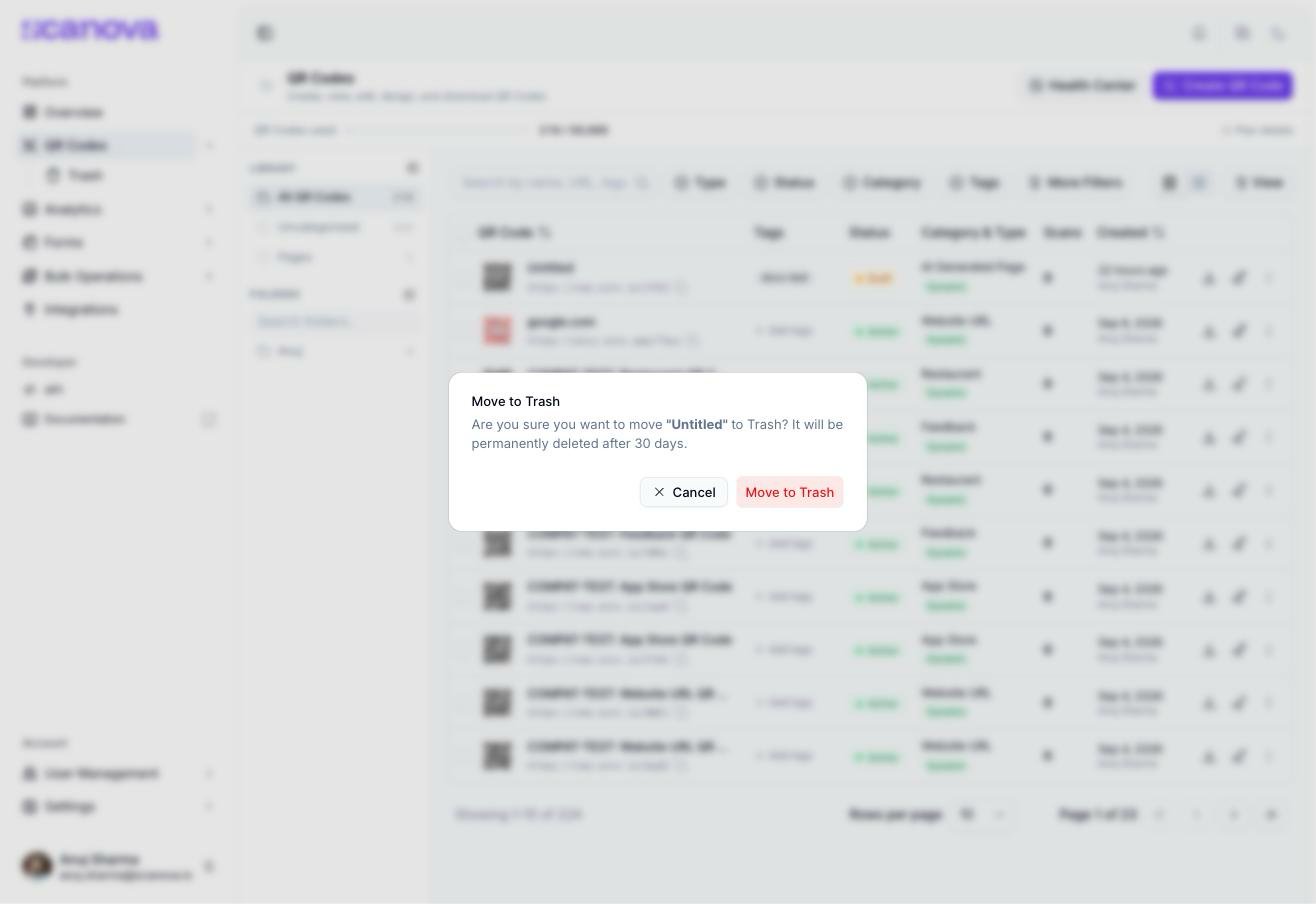
A Move to Trash dialog names the QR Code directly, e.g. “Are you sure you want to move “Untitled” to Trash? It will be permanently deleted after 30 days.” Confirm with Move to Trash.
The Move to Trash confirmation dialog, naming the QR Code directly
3
Undo if needed
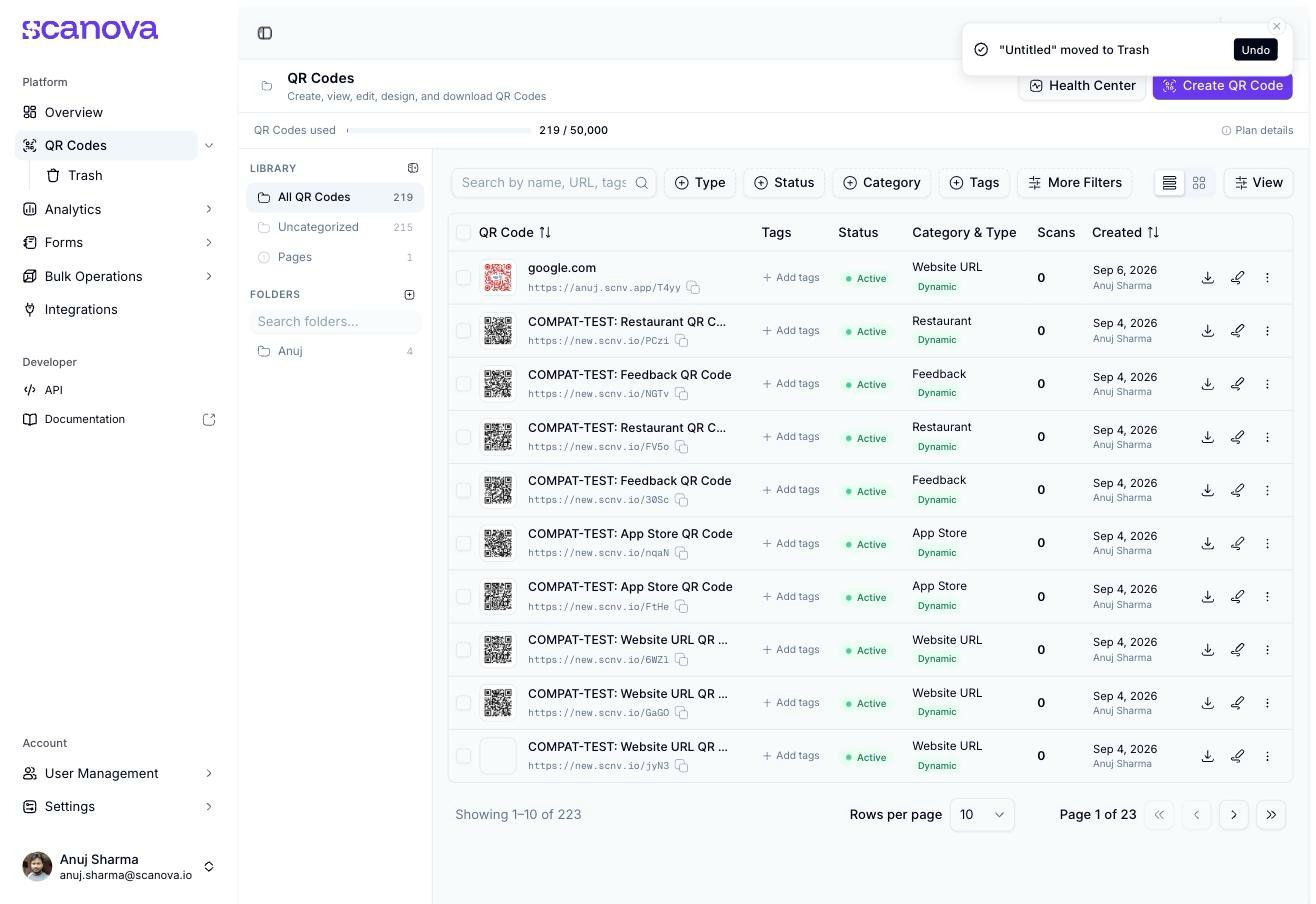
A toast appears immediately, naming the QR Code and confirming it was moved to Trash, with an Undo button right in the toast. Clicking it restores the QR Code on the spot — no need to visit the Trash page at all.
The confirmation toast, reading "Untitled" moved to Trash, with an Undo button
Row action menu on the QR Code list, with Delete at the bottom
Selecting multiple QR Codes and using the bulk Delete action works the same way — one confirmation, one toast, one Undo covering the whole batch. See Folders, tags & bulk operations for more on bulk actions.
The Undo toast is the fastest way to recover a QR Code you just deleted by mistake. Once it disappears (or you dismiss it), you can still recover the QR Code from the Trash page — it just takes a couple more clicks.
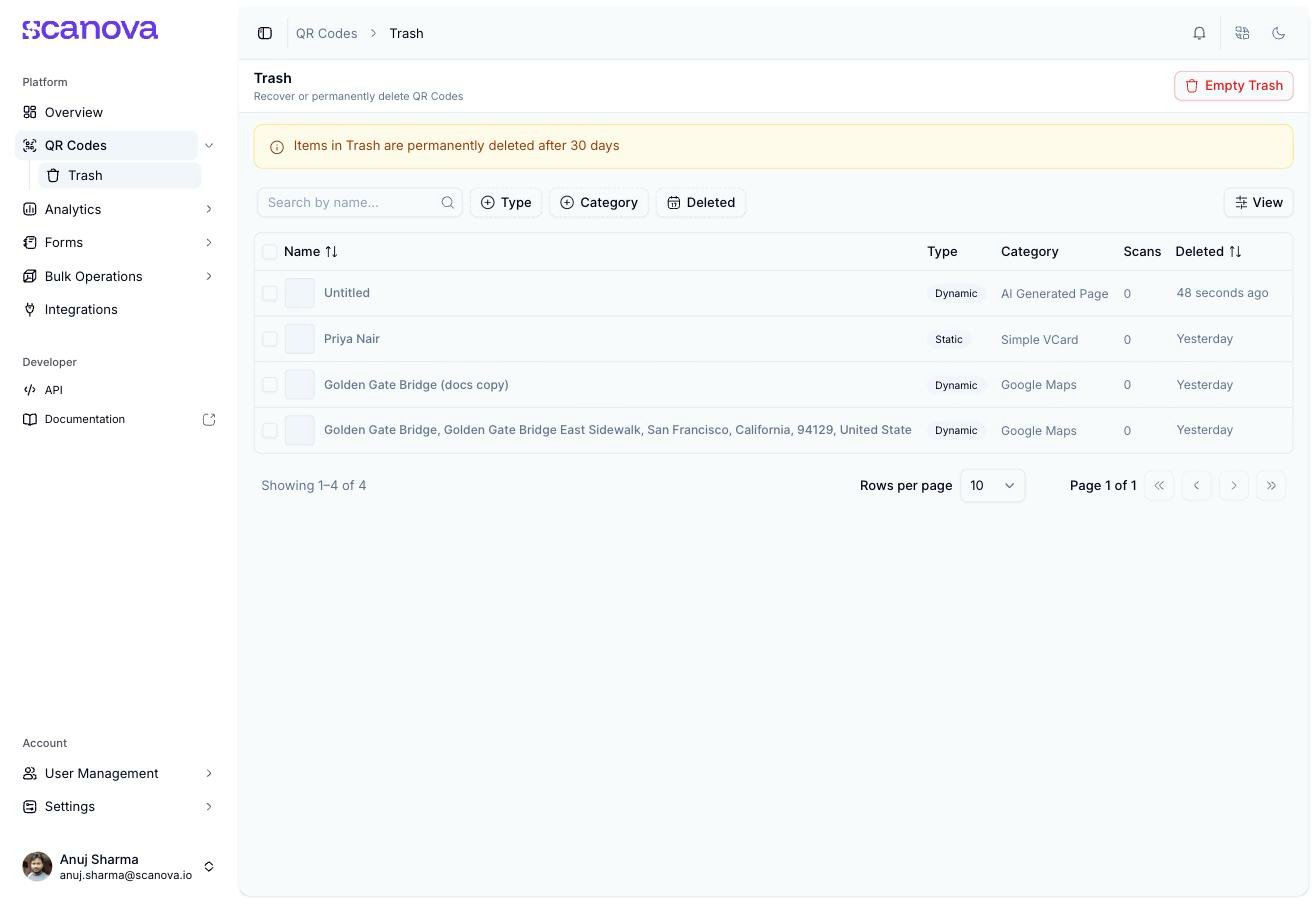
Visit Trash under QR Codes in the sidebar, or go directly to /qr/trash, to see every QR Code you’ve deleted.
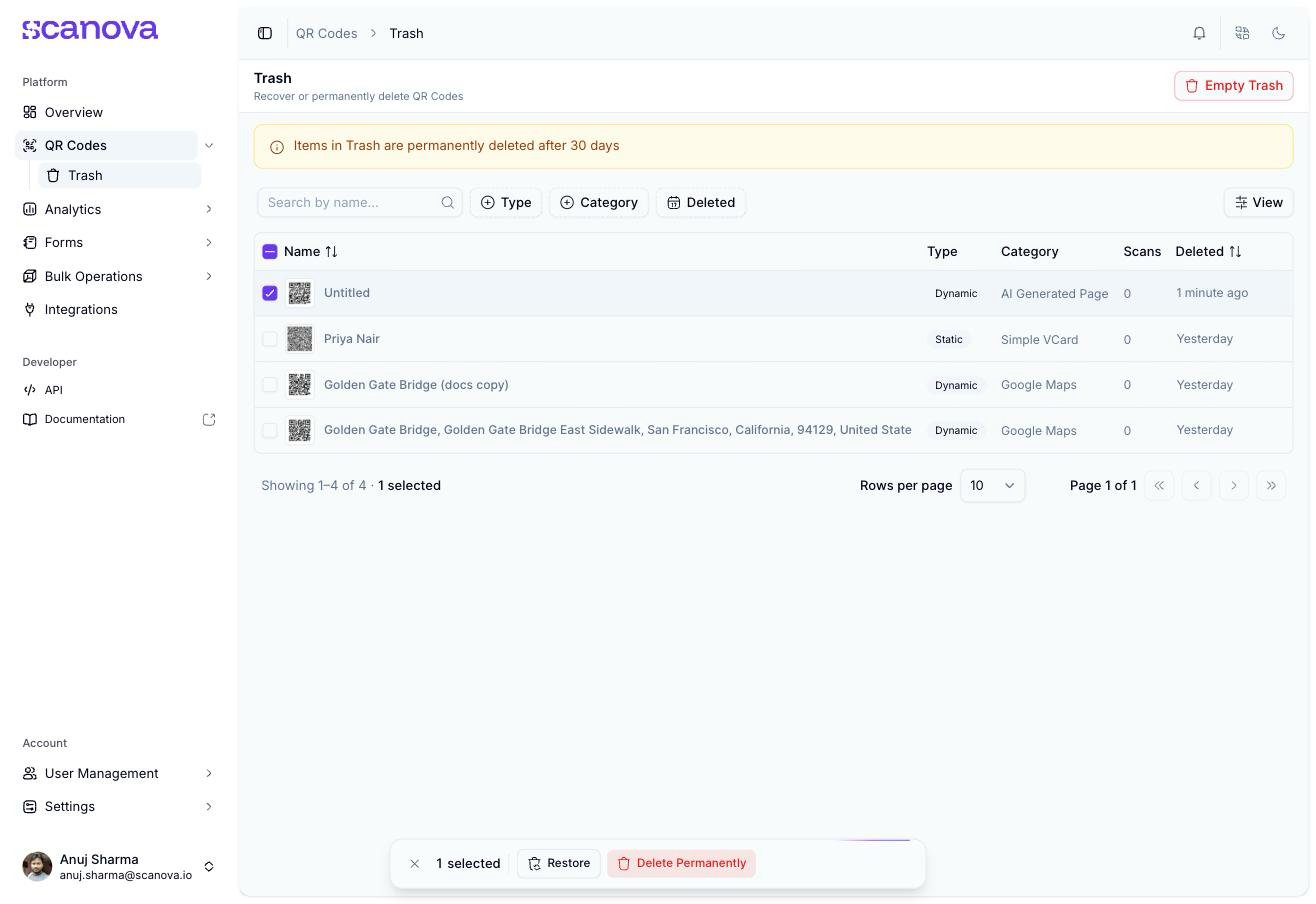
The Trash list, with the 30-day retention notice and Empty Trash control
A banner at the top states the retention policy plainly: “Items in Trash are permanently deleted after 30 days.” This is a real, enforced limit — once an item passes 30 days in Trash, it’s gone automatically, whether or not you visit this page again.The list supports the same Type, Category, and a Deleted date filter as the main QR Code list, plus search by name, so you can find a specific deleted QR Code in a large trash.
There’s no per-row ··· menu on the Trash page — check one or more rows with their checkbox to bring up a floating action bar at the bottom, with Restore and Delete Permanently. This is the same interaction whether you check one row or many; even restoring or deleting a single item goes through this selection bar, not a row-level menu.
A single row selected, bringing up the floating Restore / Delete Permanently bar
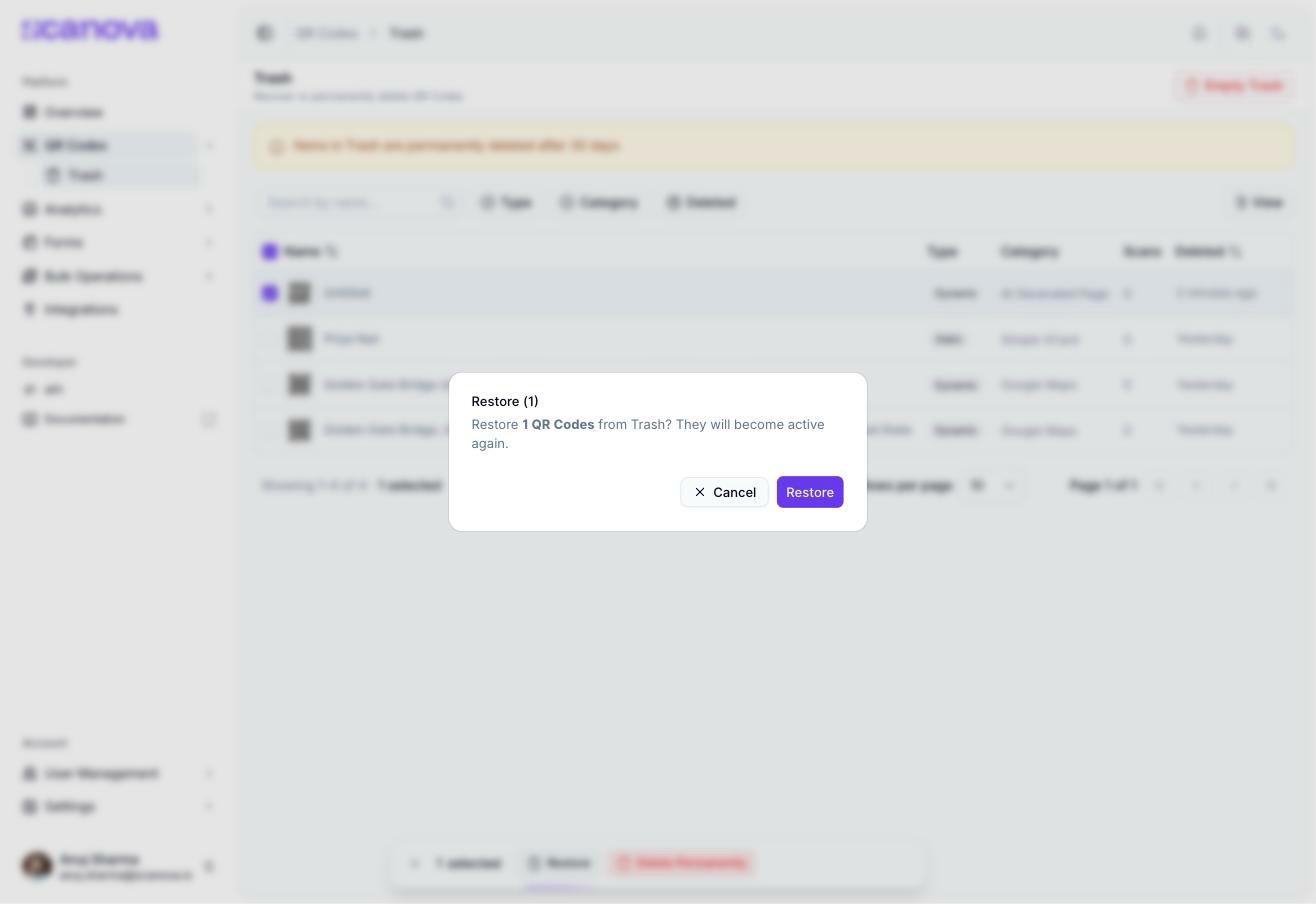
Restore — brings the QR Code(s) back to the main list, active again. The confirmation dialog title shows the count (e.g. “Restore (1)”) and confirms: “Restore 1 QR Codes from Trash? They will become active again.”
The restore confirmation dialog
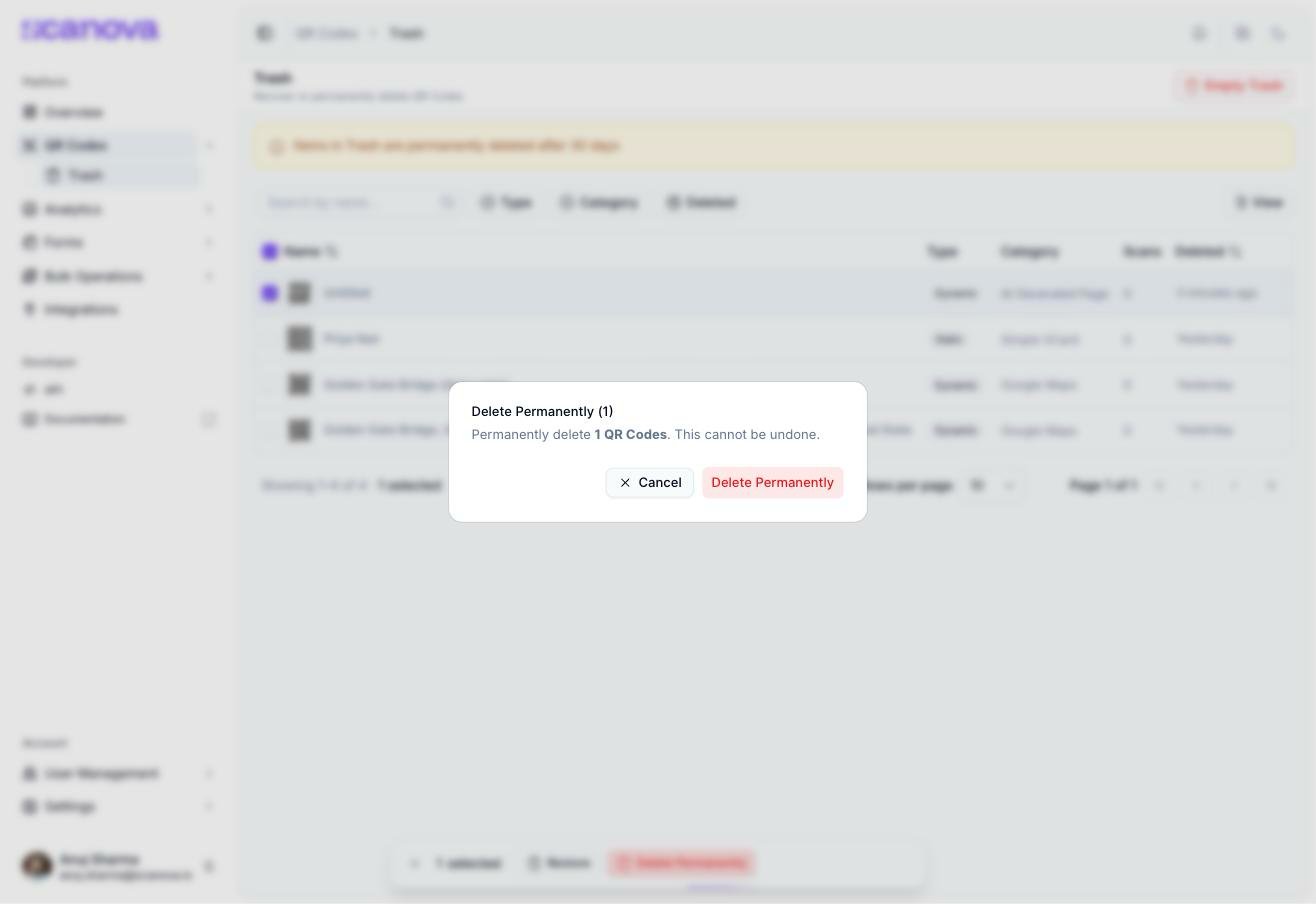
Delete Permanently — immediately and irreversibly deletes the QR Code(s). The confirmation dialog is explicit about this, again with the count in its title (e.g. “Delete Permanently (1)”):
The permanent-delete confirmation dialog
There is no undo for Delete Permanently — unlike the soft delete from the main list, this confirmation dialog means exactly what it says. A success toast (e.g. “1 QR Codes permanently deleted”) confirms it’s done.
Selecting more rows works exactly the same way — the floating bar and both confirmation dialogs simply update their counts (for example, “Delete Permanently (3)”).
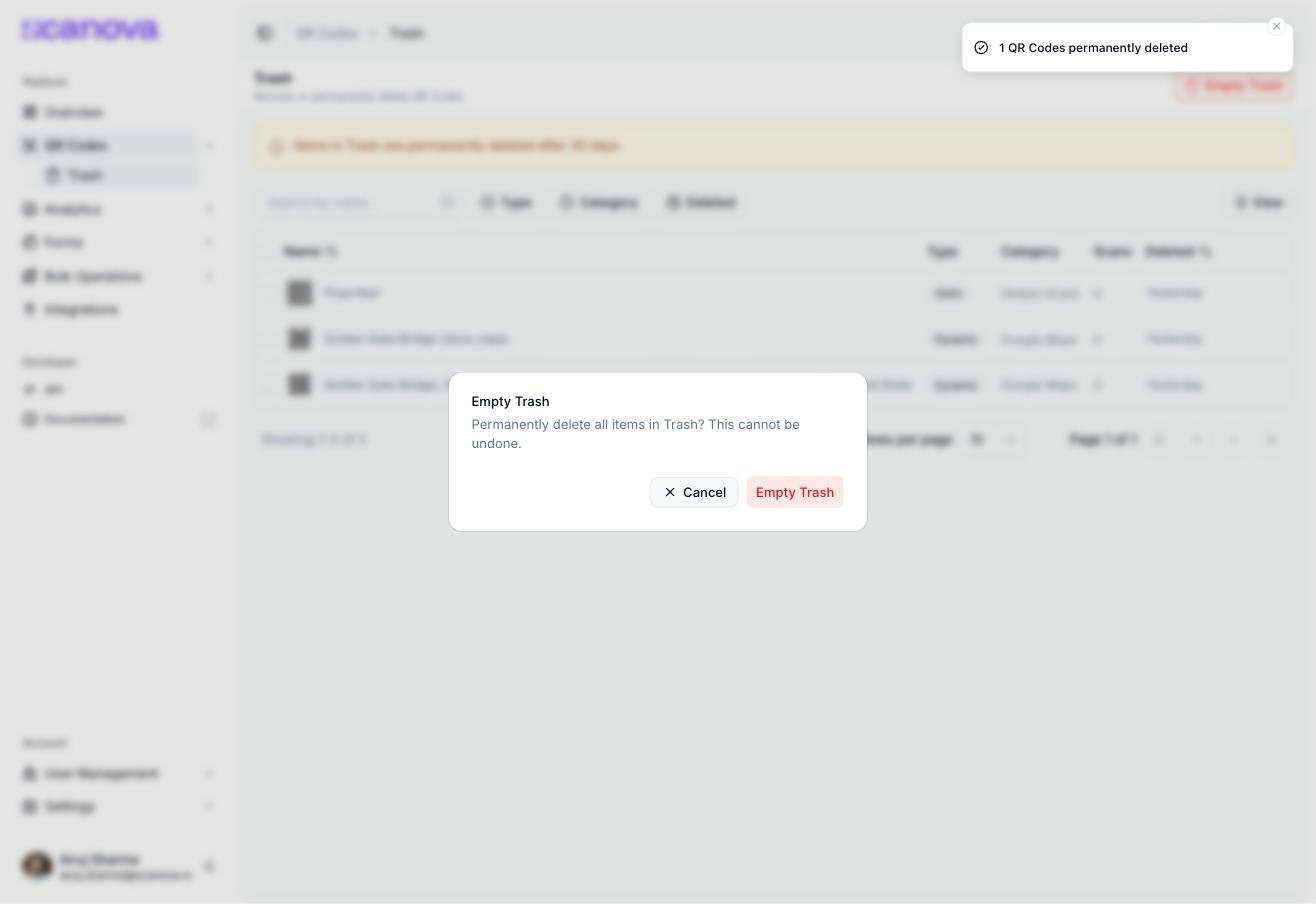
The Empty Trash button in the page header (only shown when Trash isn’t empty) permanently deletes every QR Code currently in Trash in one action, after a confirmation dialog reading “Permanently delete all items in Trash? This cannot be undone.” Use this only when you’re certain nothing in Trash is worth keeping — it bypasses the 30-day grace period for everything at once.