Organize your QR Codes with folders and tags, and use the bulk action bar to move, tag, activate, or delete many of them in a single pass from the list.
The QR Codes list (/qr/list) is where you organize everything you’ve created. Three tools work together here: a collapsible folder sidebar for grouping codes, tags for cross-cutting labels, and bulk actions for operating on many QR Codes at once.
Folders live in a collapsible sidebar on the left of the QR Codes list, not as filter chips in the toolbar. Toggle it with the small collapse icon next to the LIBRARY section header, at the top of the sidebar itself — collapsing it replaces the sidebar with a Folders pill button next to Health Center in the page header, which re-expands it when clicked. Your preference is remembered in your browser (via localStorage) the next time you visit.
Folders are available on the Pro Plan and above. On a lower plan the sidebar and its toggle don’t appear at all, and the Move to Folder bulk action is hidden too. Contact support if you expect folders on your plan but don’t see them.
At the top of the sidebar, above your own folders, are three built-in virtual entries:
All QR Codes — every QR Code you own, regardless of folder
Uncategorized — QR Codes not currently assigned to any folder
Pages — only shown once your account has at least one legacy “Page”-flagged QR Code; this is a marker carried over from the classic app, not something you assign yourself
Click the small + button next to the “FOLDERS” section header in the sidebar. The dialog reads “Group related QR Codes together. A QR Code can live in one folder.”
2
Name it and pick a color
Folder names are limited to 150 characters (placeholder example: “Spring Campaign”). Pick one of 7 swatches — a grey Default plus 6 accent colors (blue, purple, green, orange, red, teal) — the color tints the folder icon everywhere it appears, including in the drag-and-drop drop zone.
The Create folder dialog, with the default grey swatch selected
3
Save
The new folder appears in the sidebar immediately and becomes the active selection.
Each folder in the list has a ··· menu (visible on hover) with:
Edit Folder — rename it
Change Color — swap its accent color without opening the full edit dialog
View Analytics — jumps to /analytics filtered to this folder’s QR Codes
Delete folder — see below
Deleting a folder asks what to do with the QR Codes inside it: Move to Uncategorized (the QR Codes stay active, just unassigned) or Delete QR Codes permanently (the QR Codes themselves stop working — this cannot be undone). Choose carefully; the second option is destructive to the QR Codes, not just the folder.
A search box above the folder list filters folders by name (debounced, so it doesn’t fire on every keystroke), and the list lazy-loads more folders as you scroll if you have a large number of them.
You can drag a QR Code card or row directly onto a folder in the sidebar (or onto Uncategorized to clear its folder). Drop targets highlight as you drag over them. For moving several QR Codes at once without dragging, use the Move to Folder bulk action described below.
Both drag-and-drop and the bulk “Move to Folder” action require a permission grant (FOLDER_CAN_CREATE_AND_MANAGE) in addition to the plan quota — a shared user without that grant won’t see these controls, so they never hit a permission error after the fact.
Tags are a lightweight, freeform way to label QR Codes that cuts across folders — a QR Code can carry multiple tags and still live in one folder (or none).
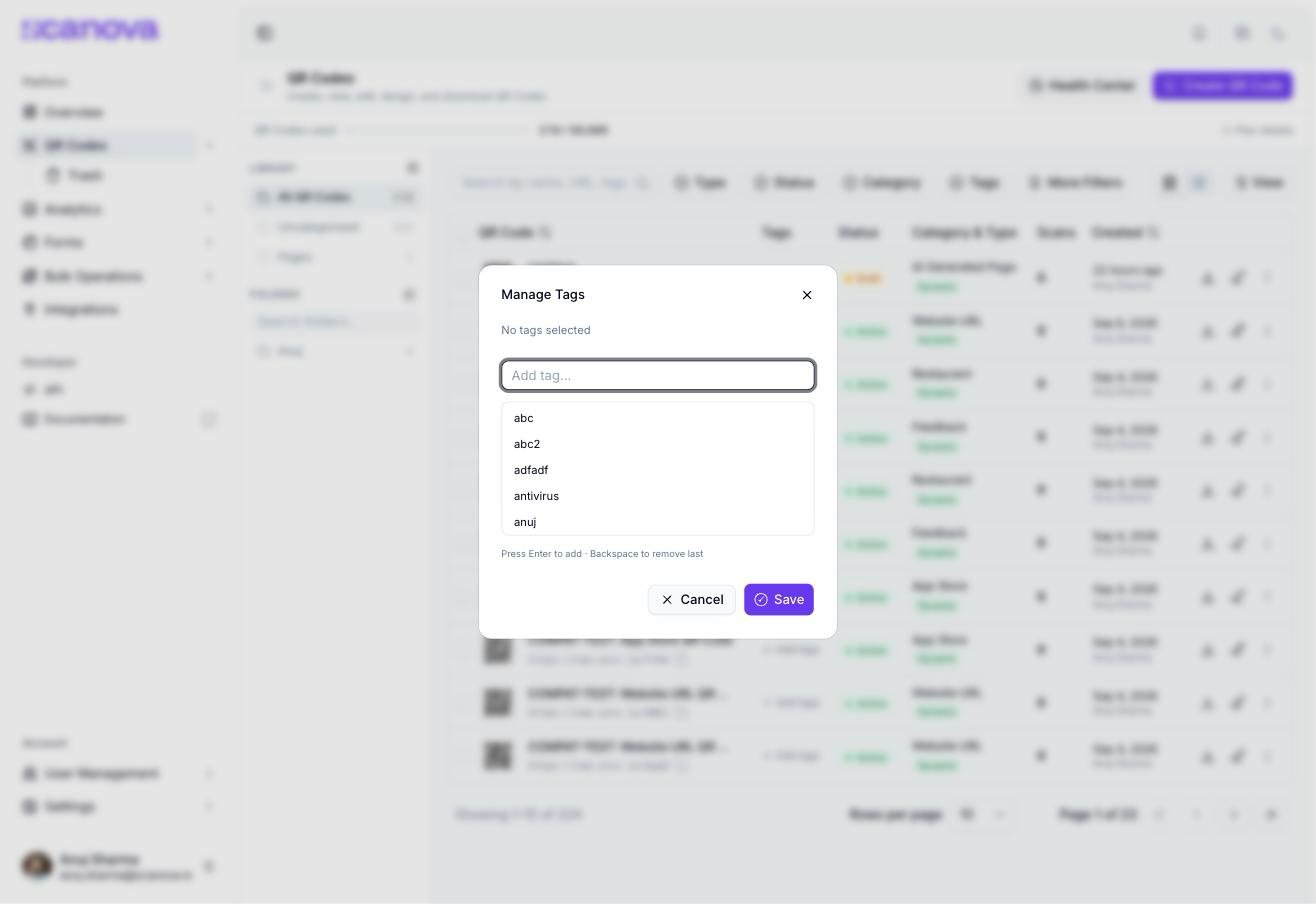
Adding a new tag to a single QR Code from the list
To tag a single QR Code, click + Add tags in its row (or the existing tag chip, once it has one) to open the tag manager:
1
Type a tag name
Start typing in the input. Existing tags that match what you’ve typed appear as suggestions below — click one to add it, or press Enter to create a new tag from what you typed.
2
Remove tags if needed
Click the × on a tag chip to remove it, or press Backspace in an empty input to remove the last one added.
3
Save
Saving replaces this QR Code’s tag list with your current selection.
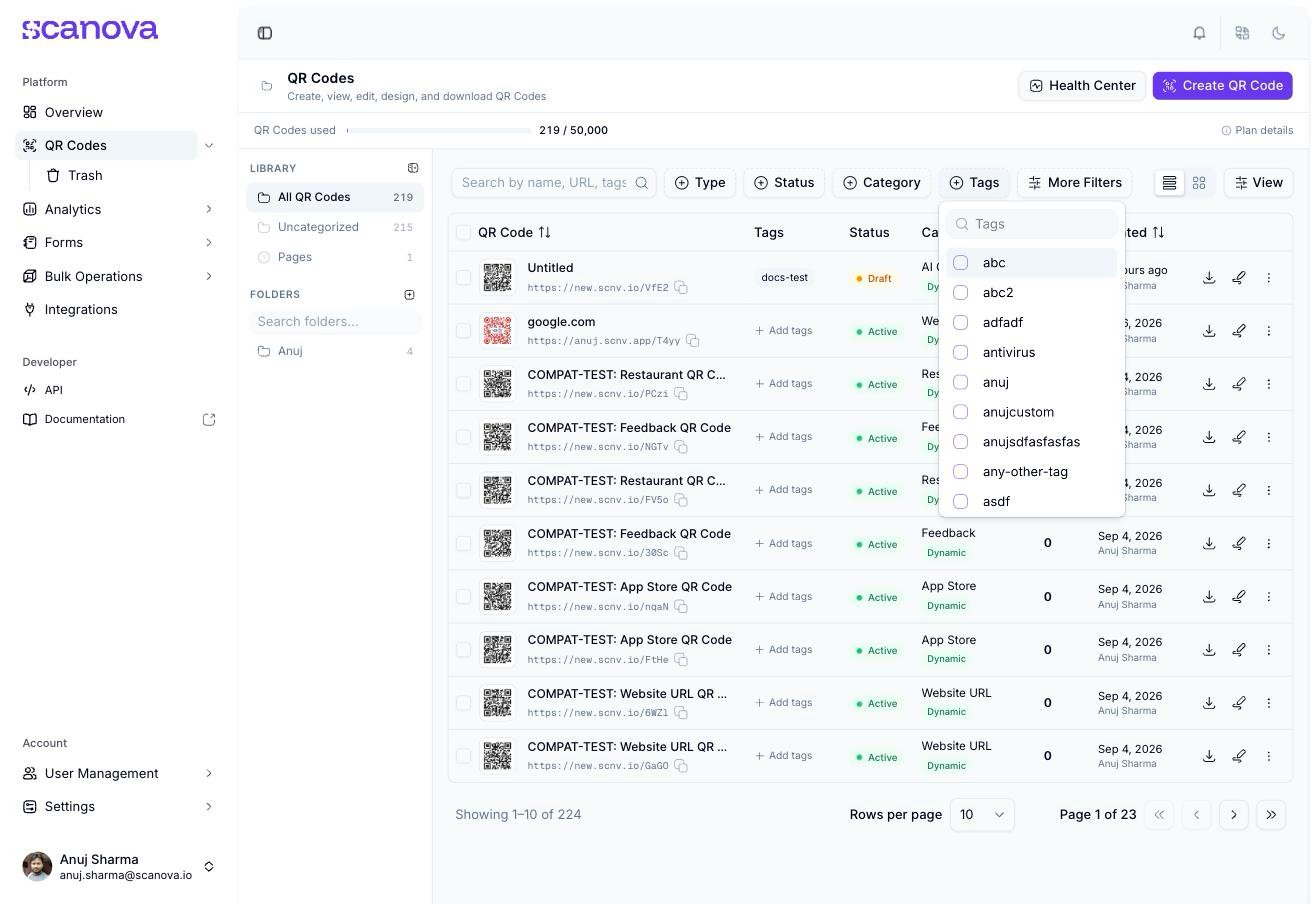
Once at least one tag exists on your account, a Tags filter appears in the toolbar next to Type, Status, and Category — pick one or more tags to filter the list down to matching QR Codes.
Filtering the QR Code list by tag from the toolbar
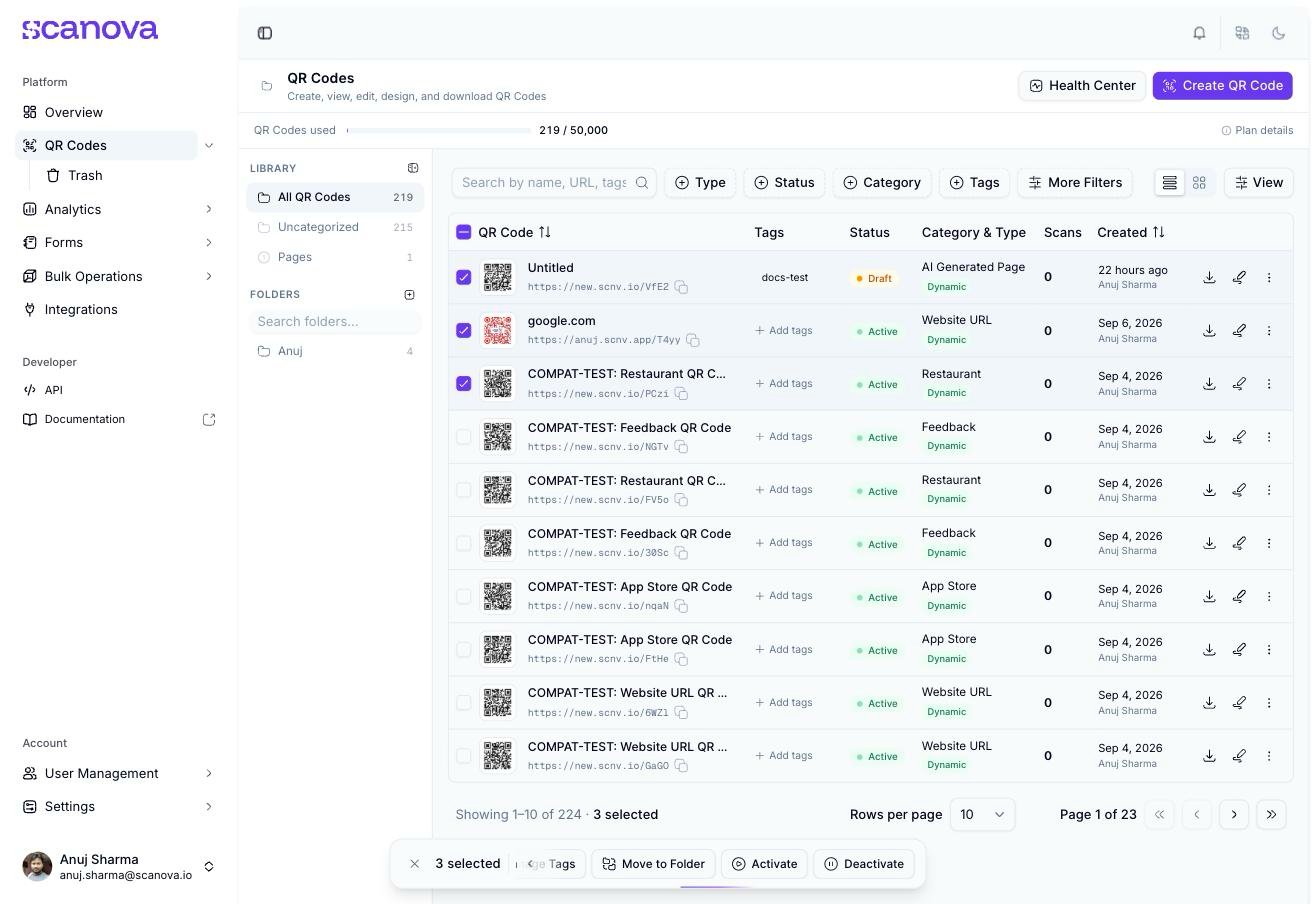
Select two or more QR Codes using the checkboxes in the leftmost column to bring up a floating action bar at the bottom of the list.
The floating bulk-action toolbar after selecting multiple QR Codes
Depending on your plan and permissions, the bar can include:
Download — opens the download panel for all selected QR Codes at once
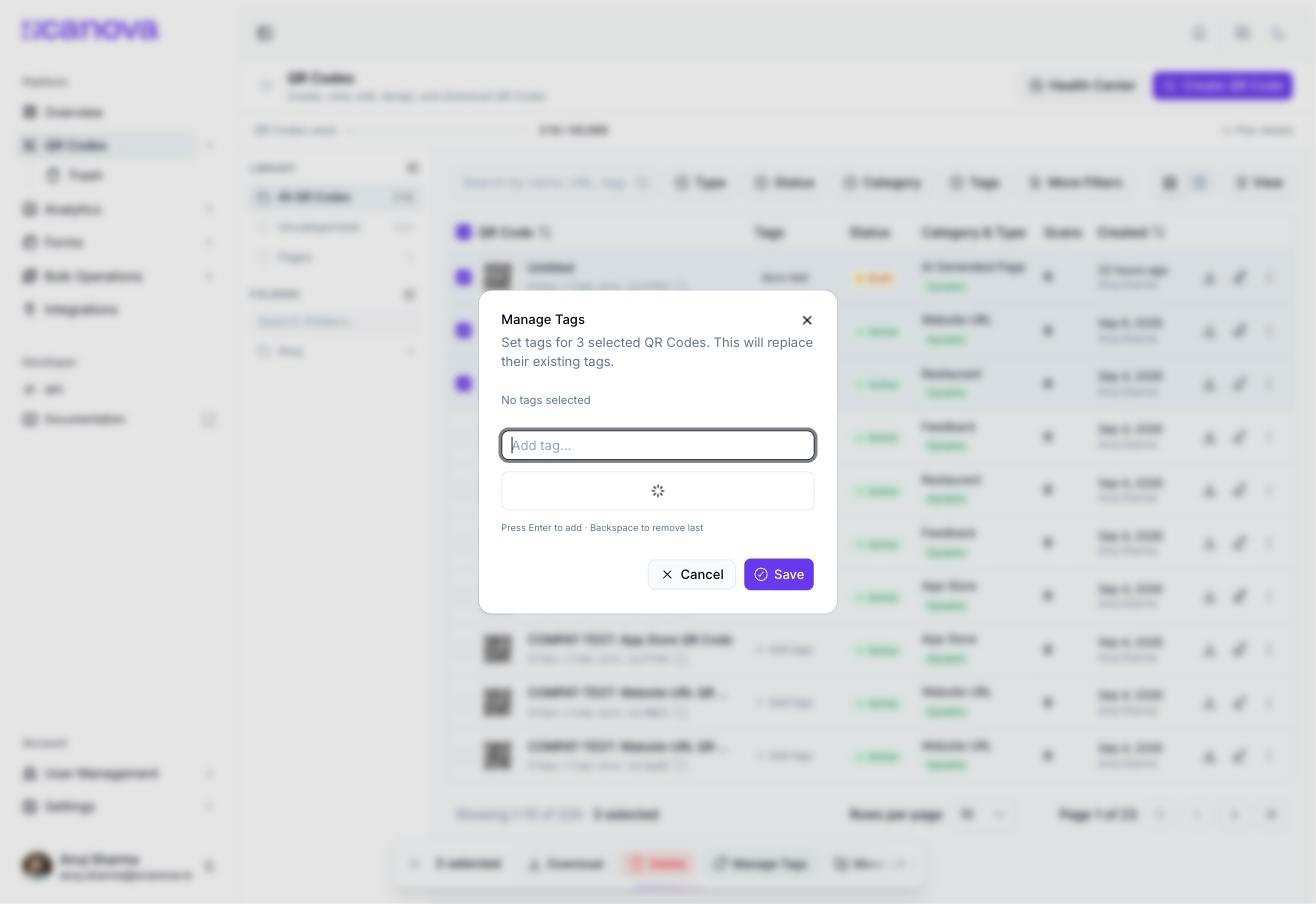
Manage Tags — opens the same tag manager as above, but scoped to every selected QR Code. Saving replaces the tags on all of them with whatever you set — it isn’t additive.
Move to Folder — only shown if your plan and permissions allow folder management (see the folder note above)
Activate / Deactivate — flips is_active on the selected QR Codes. Static QR Codes are skipped automatically (a static code’s payload is baked into the image itself, so activation state means nothing for it) — the confirmation dialog tells you how many rows were skipped for this reason.
Every bulk action shows exactly how many rows it will affect in its confirmation dialog title (for example, “Delete Permanently (3)”), so you can double-check your selection before confirming anything destructive.