Replace the default scnv.io short link with a domain of your own, adding the DNS records that Scanova needs, then verifying and assigning it to codes.
Custom domains let your QR Codes and short links resolve through your own sub-domain (for example offer.yourbrand.com) instead of the default scnv.io short URL.Open Settings > Custom Domain in the sidebar, or go directly to /settings/domains.
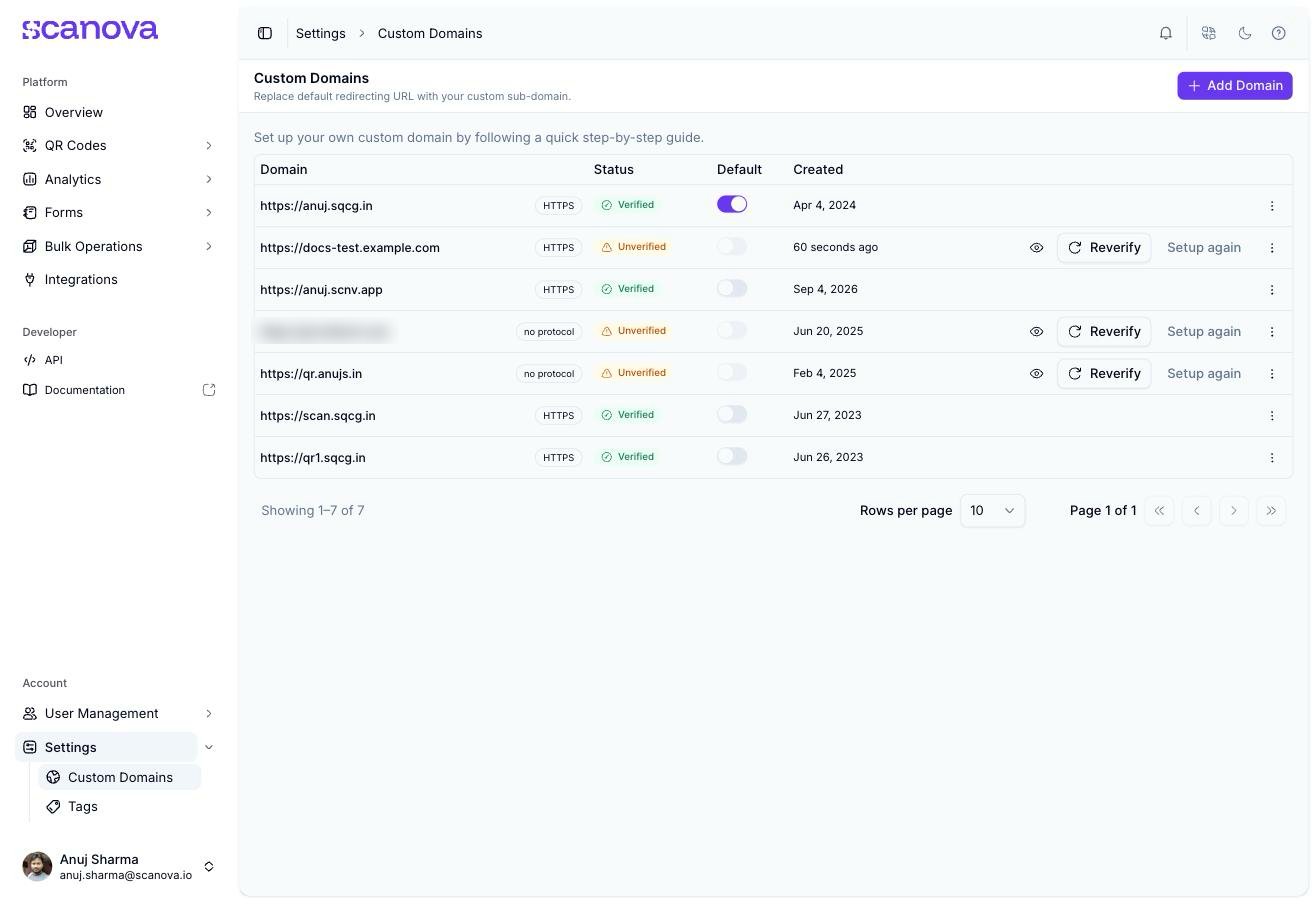
The Custom Domains page, listing verified and unverified domains
With no domains added yet, this page instead shows an empty state: a globe icon, “No custom domains added yet,” and the same Add Domain button.
Custom domains are a Pro-and-above feature. On a plan without domain access, this page shows an upgrade prompt instead of the setup flow below.
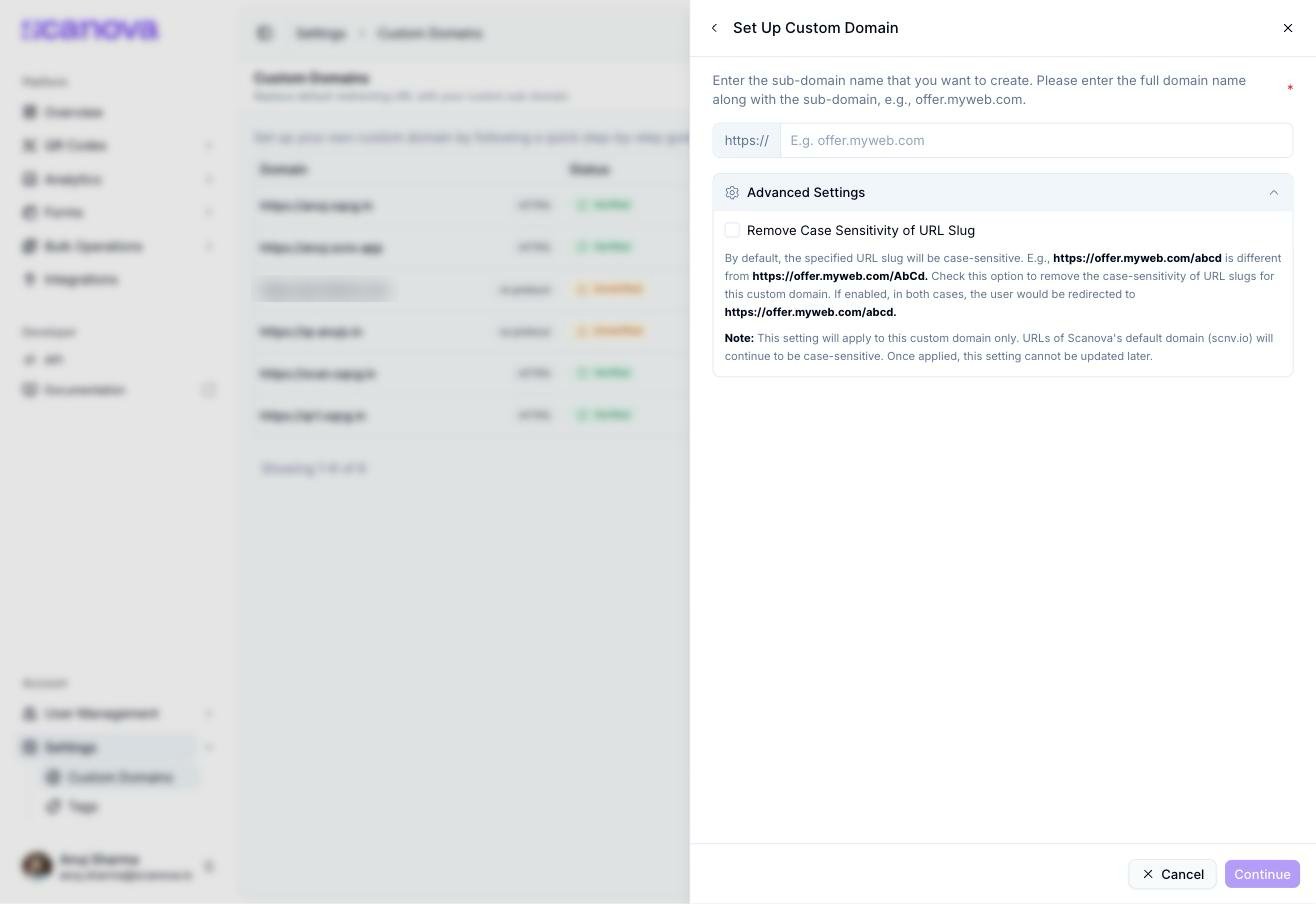
Click Add Domain. A drawer opens asking for the sub-domain name you want to use — the full name including the sub-domain, for example offer.myweb.com.
Step 1: entering the sub-domain name
An Advanced Settings section lets you disable case-sensitivity on this domain’s URL slugs before you continue — this can’t be changed later, so decide up front if you need it.
2
Add the DNS records
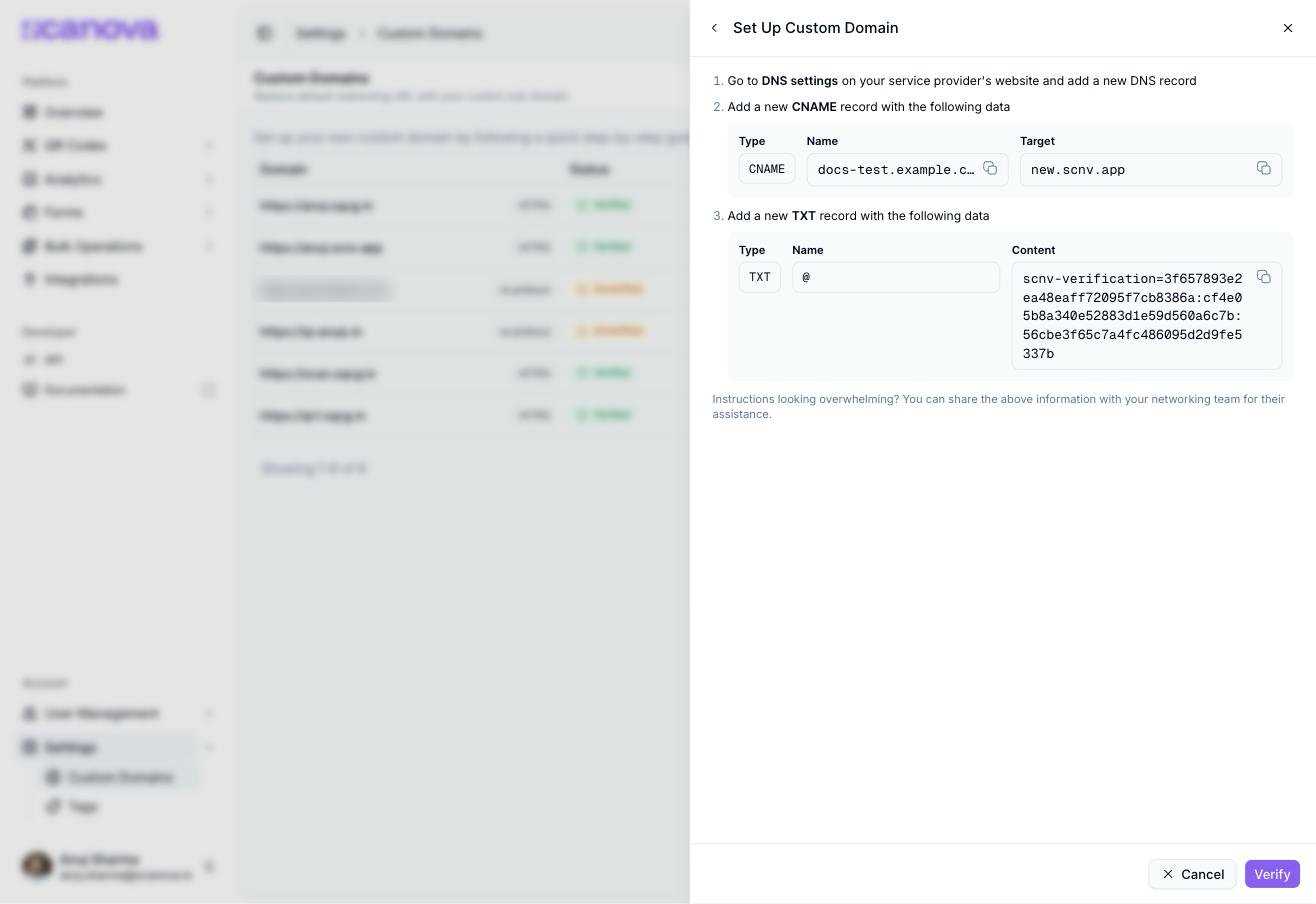
Once you continue, the domain is created and the drawer shows the exact DNS records to add at your registrar: a CNAME record pointing your sub-domain at Scanova’s target, and a TXT record (on @, the root) proving ownership.
The DNS records this domain needs, from the read-only details view
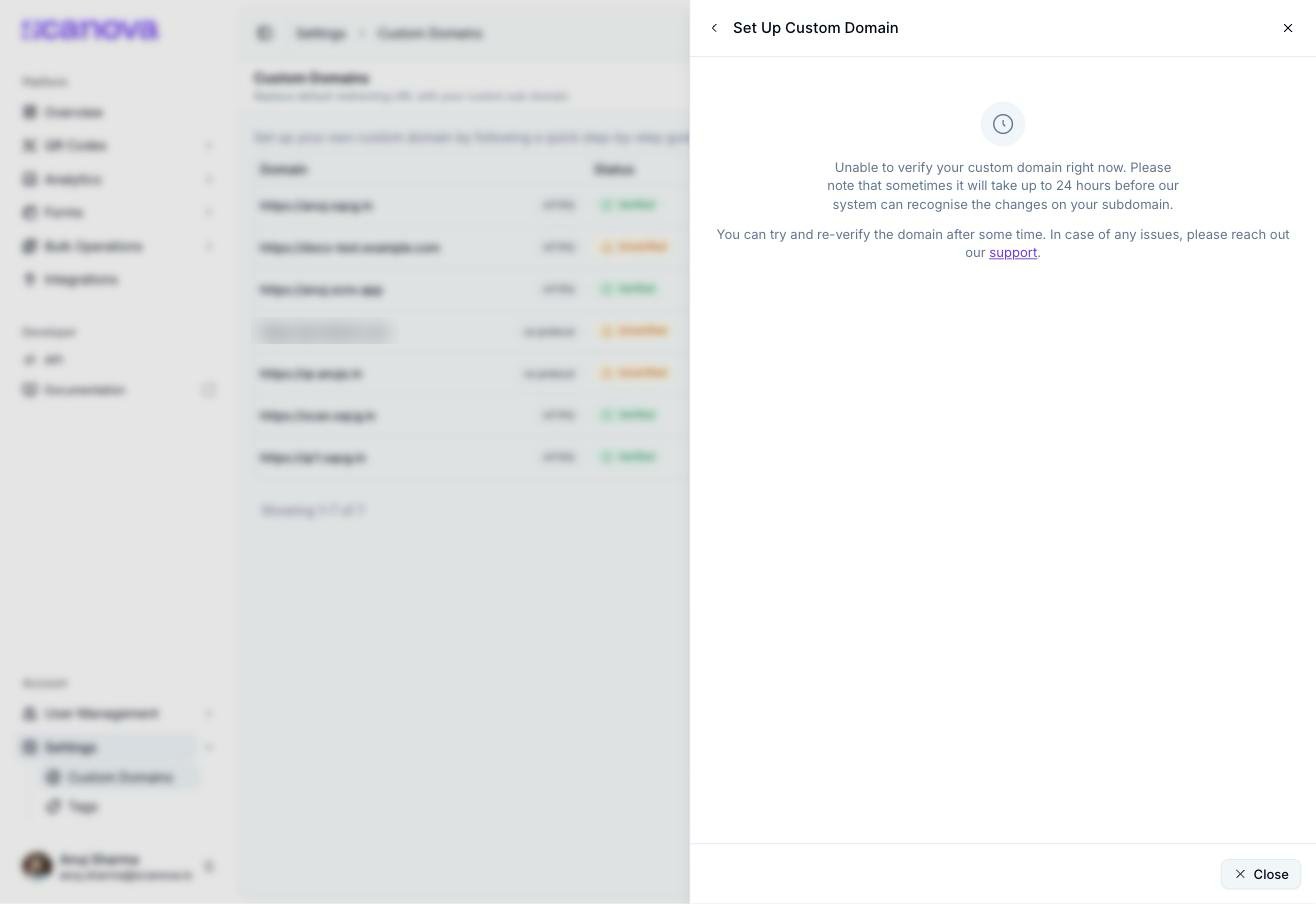
Click Verify. If both records resolve, the domain is marked verified immediately. If not — which is expected right after adding new DNS records — you’ll see a “could not verify yet” message:
Unable to verify your custom domain right now. Please note that sometimes it will take up to 24 hours before our system can recognise the changes on your subdomain. You can try and re-verify the domain after some time. In case of any issues, please reach out our support.
The could-not-verify-yet message, shown right after adding a domain with no matching DNS records
DNS changes can take up to 48 hours to propagate in the worst case. Give it that long before assuming something has gone wrong.
A domain whose DNS records do not resolve is still created successfully, and shows Unverified status straight away — there is nothing yet for the check to find.
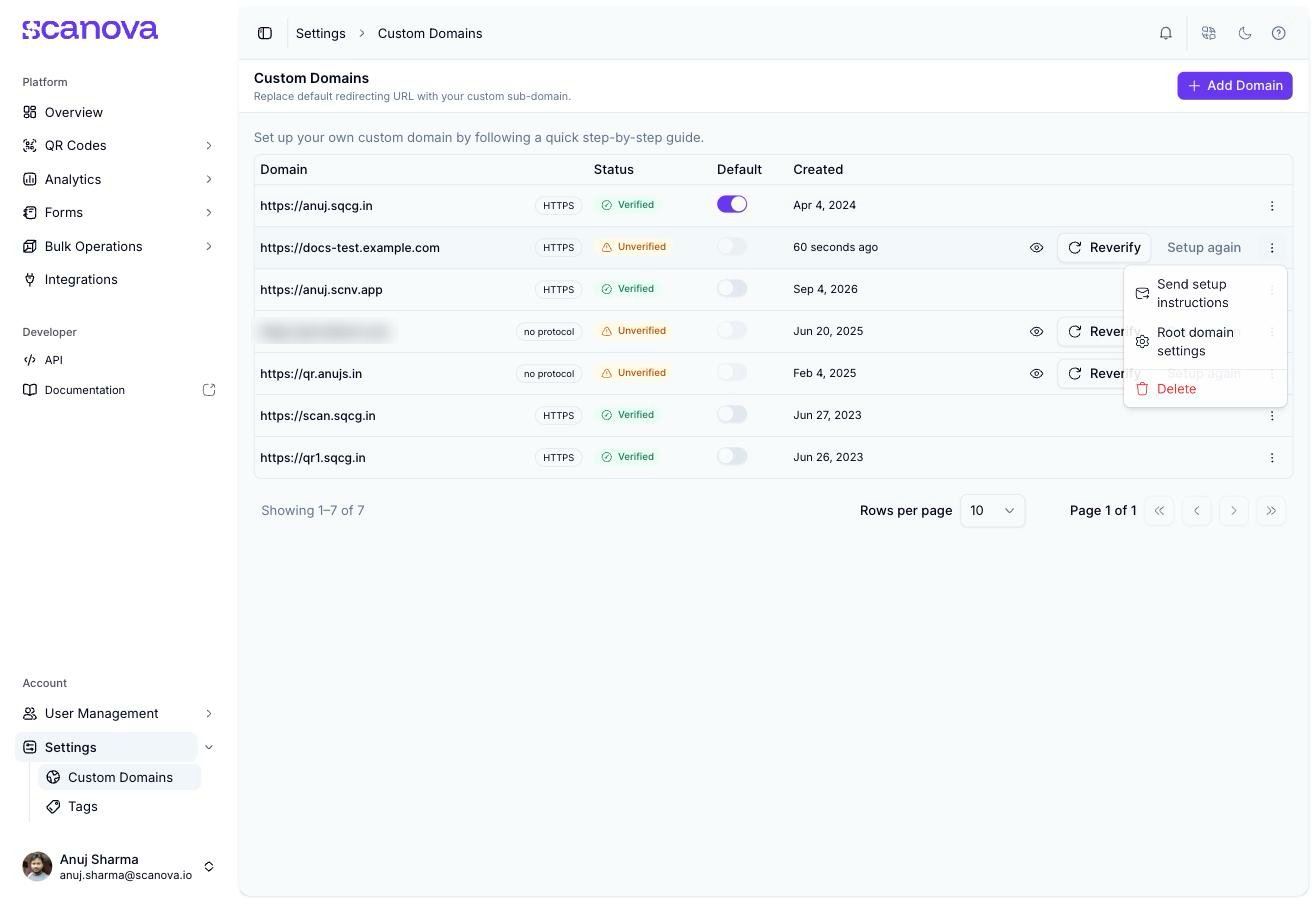
Once a domain exists in your list, its row shows its verification status, whether it’s your Default domain, and a ··· menu:
A domain row with Unverified status, Reverify, Setup Again, and the row menu open
Reverify — re-checks DNS without restarting setup. Use this after you’ve actually added the records and given DNS time to propagate.
Setup Again — restarts the setup drawer at step 1 with the current host prefilled, in case you need to correct a typo. Since a domain name can’t be edited after creation, changing it here deletes the old entry and creates a new one — only after the replacement is confirmed and successfully created, so you’re never left with no domain at all.
Send setup instructions — emails the exact DNS records to whoever manages your DNS
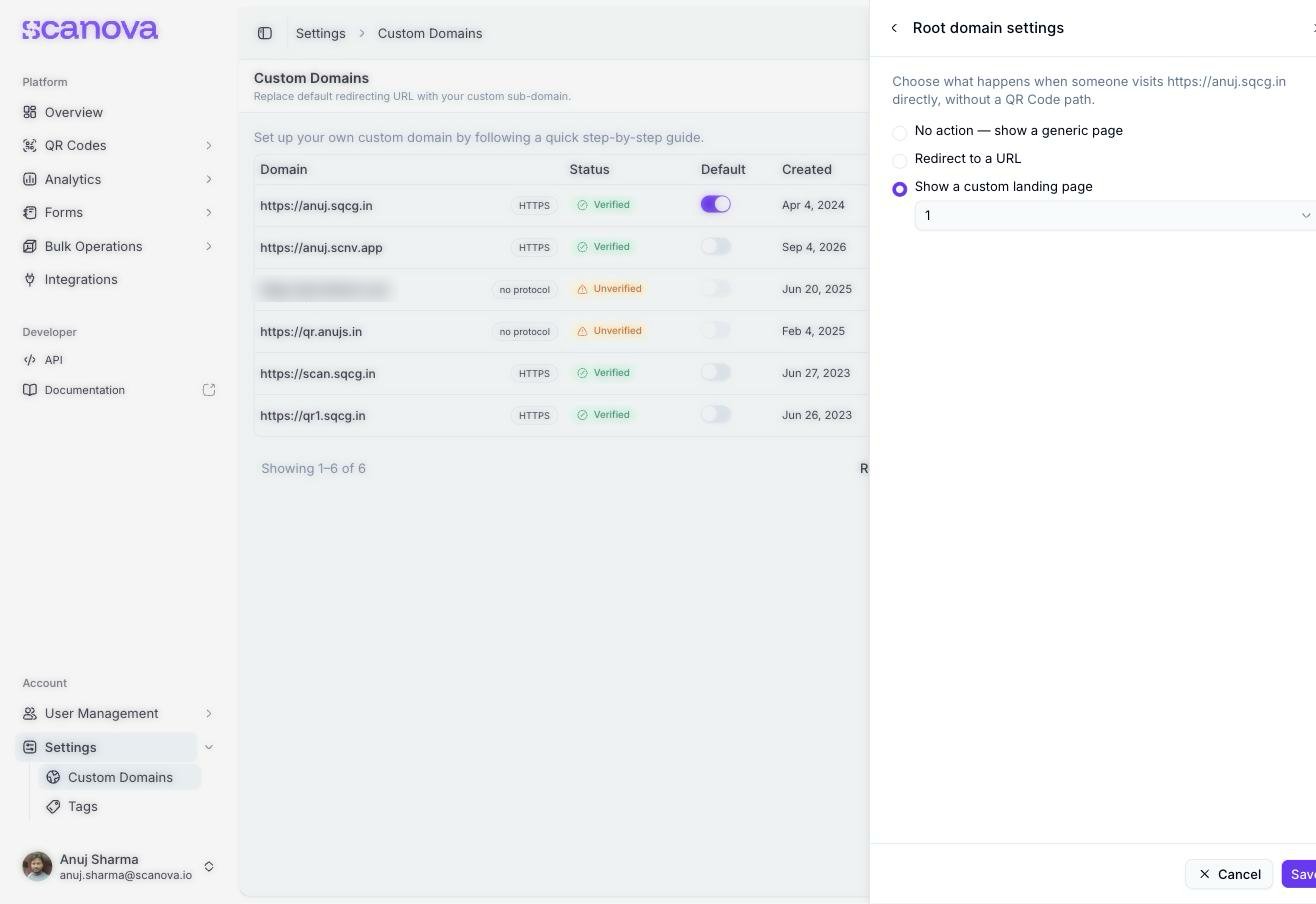
Root domain settings — choose what happens when someone visits the bare domain directly, without a QR Code path: No action — show a generic page, Redirect to a URL, or Show a custom landing page (picking one of your own page-builder pages)
Root domain settings for a verified domain
Delete — removes the domain after a confirmation dialog, then shows a “Domain deleted” toast. Any QR Codes and forms using that domain fall back to the default Scanova short URL.
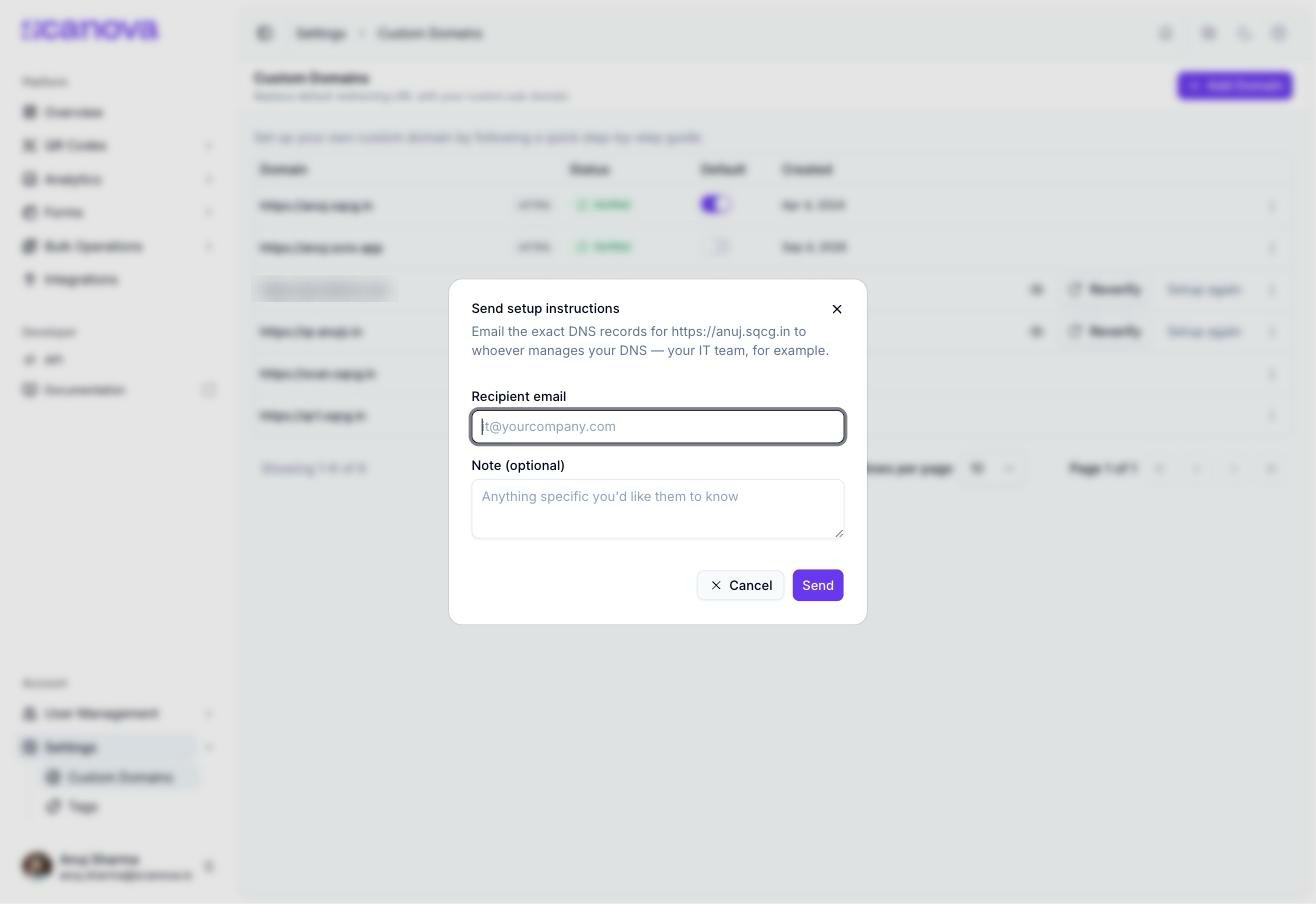
If you’d rather hand the DNS records to whoever manages your domain, use Send setup instructions from the row menu instead of copying each value yourself:
Emailing DNS setup instructions to another team
Enter a recipient email (for example, your IT team’s address) and an optional note, then send. The email includes the exact CNAME and TXT records for that domain — the same values shown in the DNS records step above.
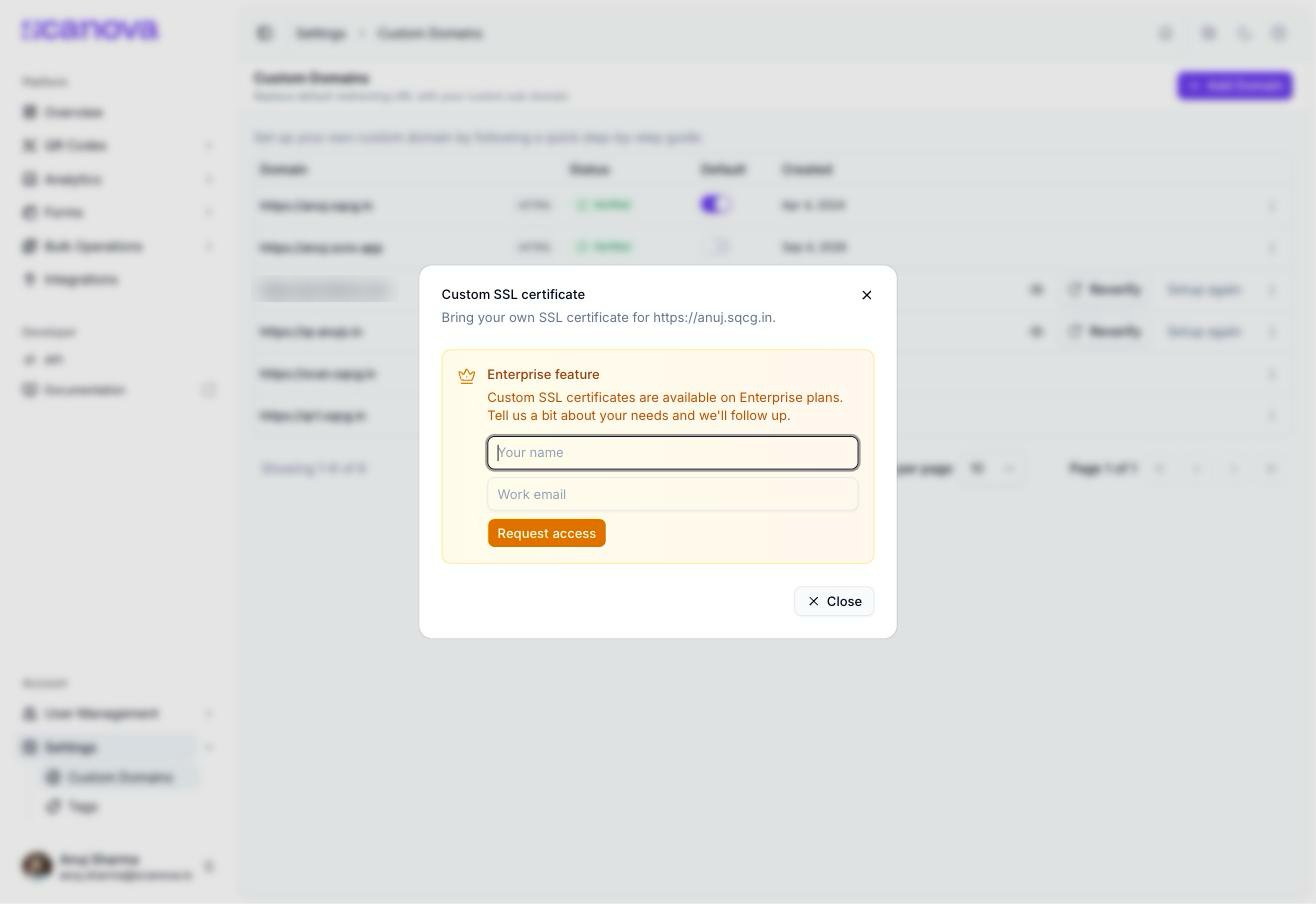
A Custom SSL Certificate option is available in the row’s ··· menu for any domain. Custom SSL is an Enterprise feature — on a plan without it, the option opens a request dialog: “Bring your own SSL certificate for <domain>,” with “Custom SSL certificates are available on Enterprise plans. Tell us a bit about your needs and we’ll follow up,” a Your name / Work email form, and a Request access button.
The Custom SSL certificate request dialog on a plan without the add-on