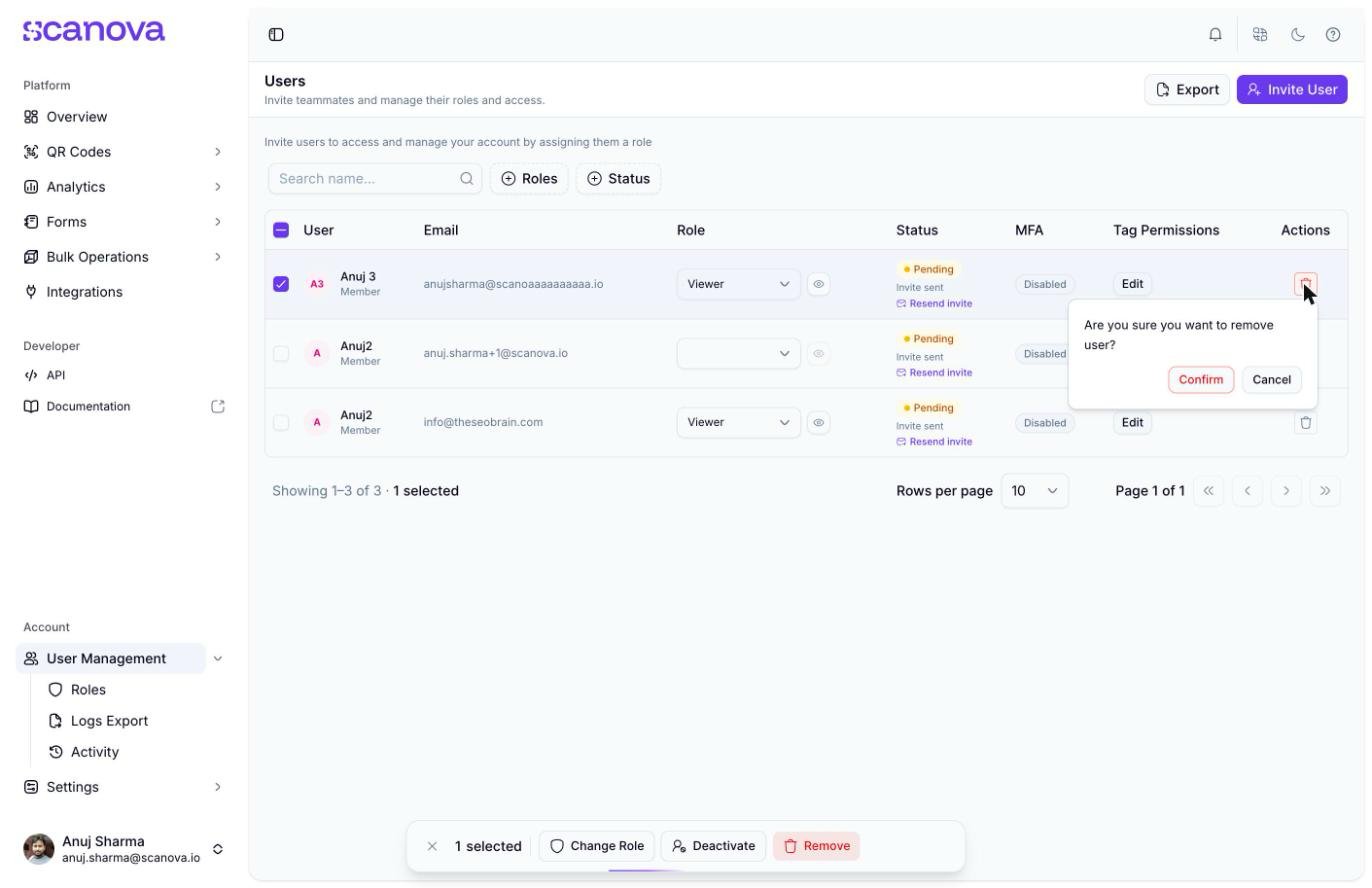
Invite your colleagues onto a Scanova account, assign each of them a role, and manage or remove their access again once they no longer need to have it.
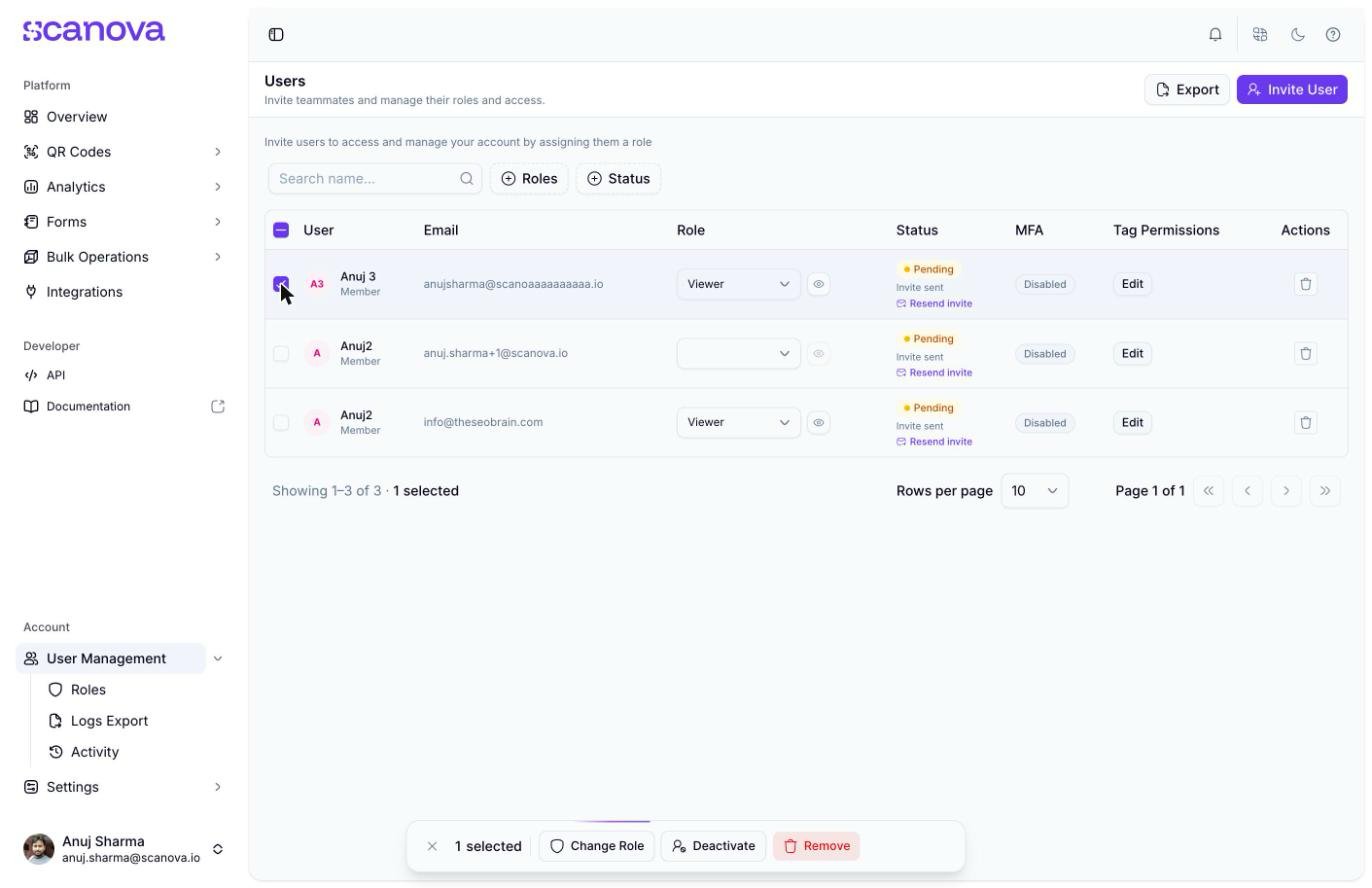
The Users page (/users) is where you invite teammates to your account and manage everyone who already has access. Every invited teammate is a shared user — a separate login tied to a role that controls what they can see and do, distinct from your own account (the Owner).
From the Users page, click Invite User in the top right.
2
Enter the teammate's name and email
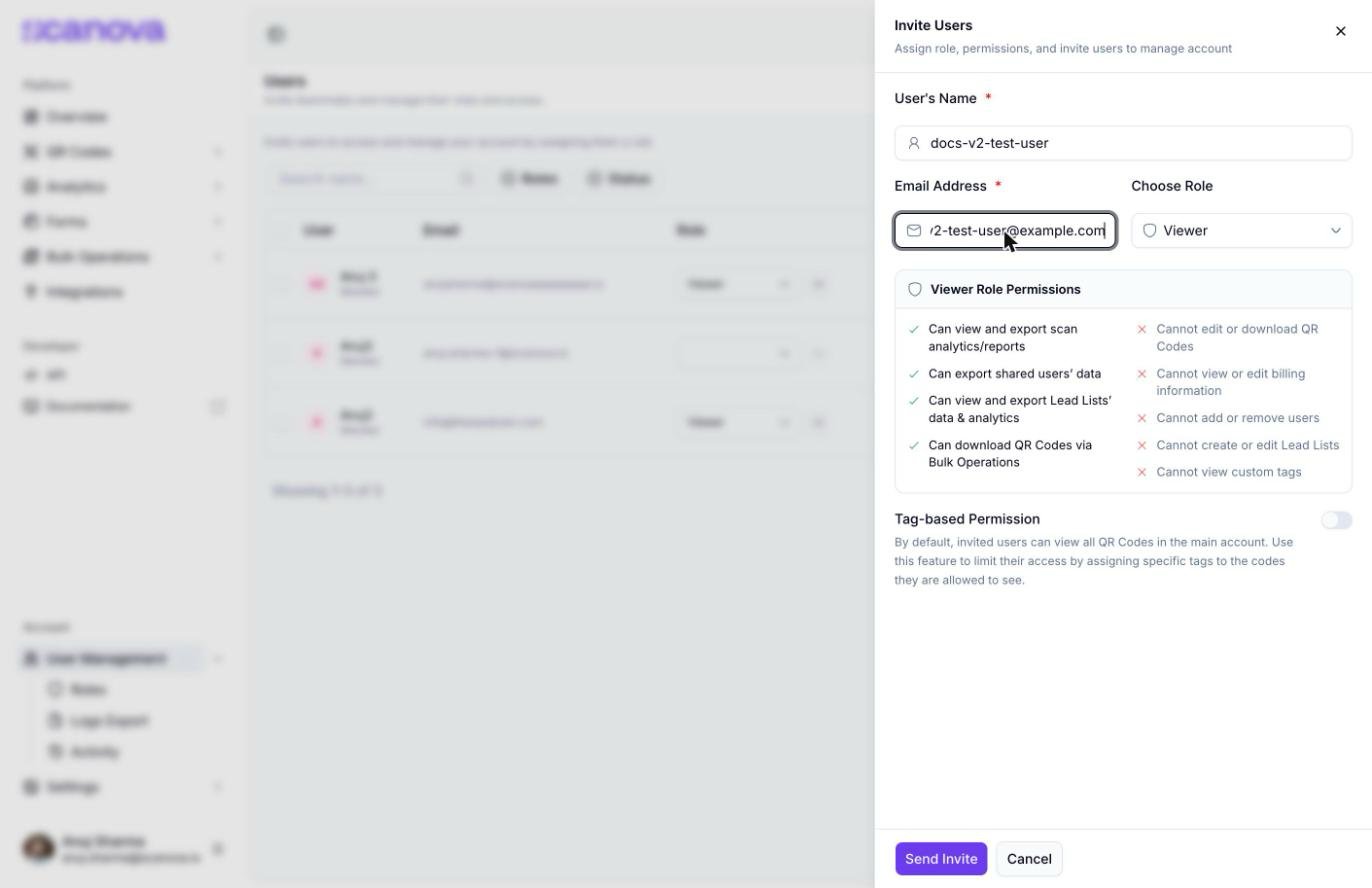
Fill in User’s Name and Email Address. Both are required before you can send the invite.
3
Choose a role
Pick a role from the Choose Role dropdown. The panel below it updates immediately with a live Can / Cannot breakdown for whichever role is selected — see Roles & permissions for what each of the six roles grants.
The Invite Users drawer filled in with a name, email, and the default Viewer role's live permission preview
4
Turn on Tag-based Permission (optional)
This toggle only appears for accounts on a plan that includes the tag-based permissions feature.
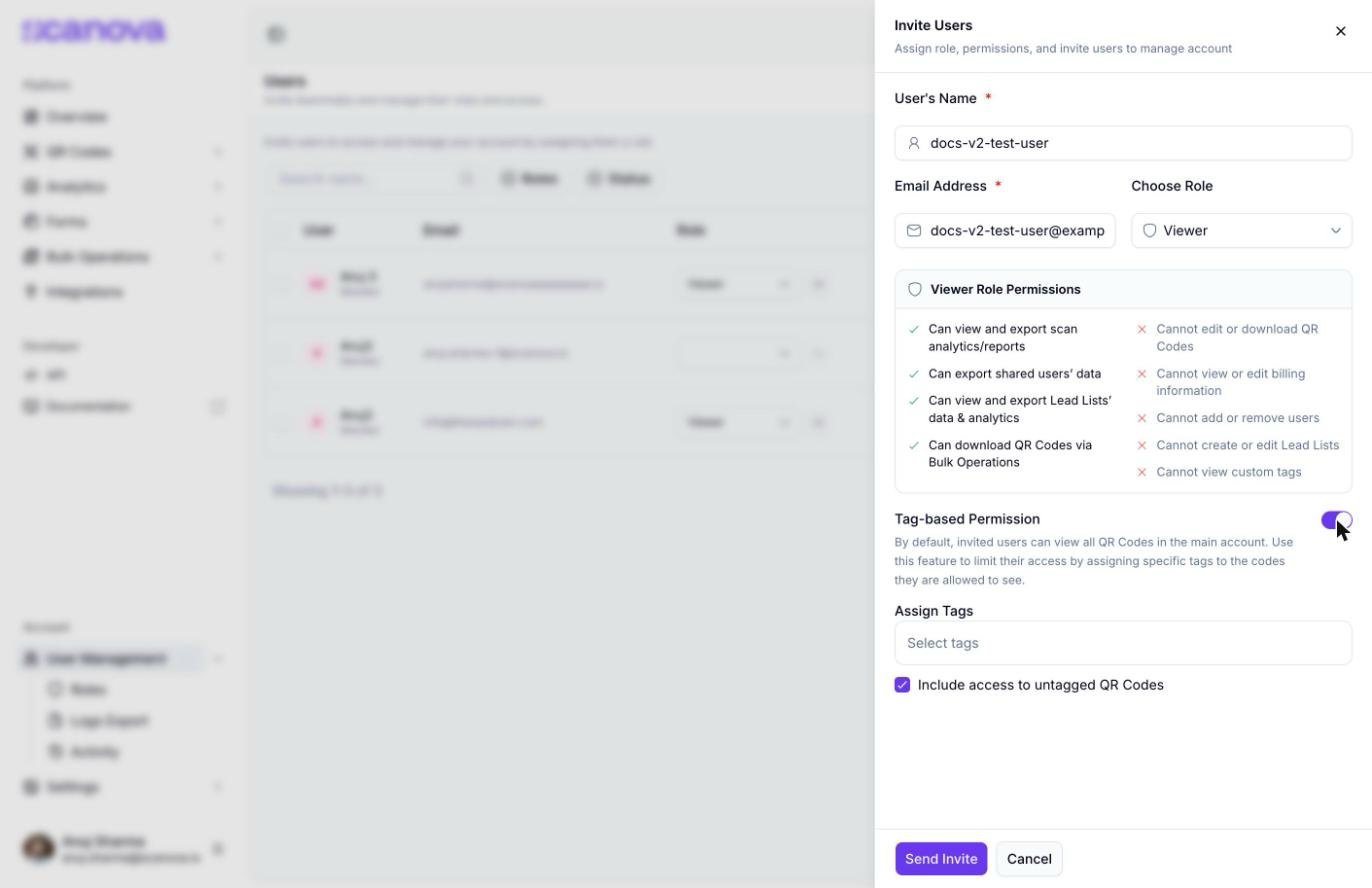
By default, an invited user can see every QR Code in the account. If your plan includes this feature, a Tag-based Permission switch appears below the role picker — turning it on reveals an Assign Tags multi-select plus an Include access to untagged QR Codes checkbox (checked by default), so you can scope a shared user down to only the QR Codes carrying specific tags.
Tag-based Permission turned on, revealing the Assign Tags and Include-untagged controls
5
Send the invite
Click Send Invite. The invitation link is valid for 7 days — a success toast confirms this, and the invite date shows up in the Users table.
An invited user starts in Pending status until they accept the invite. Click Resend invite on their row at any time if the original email didn’t arrive or has expired.
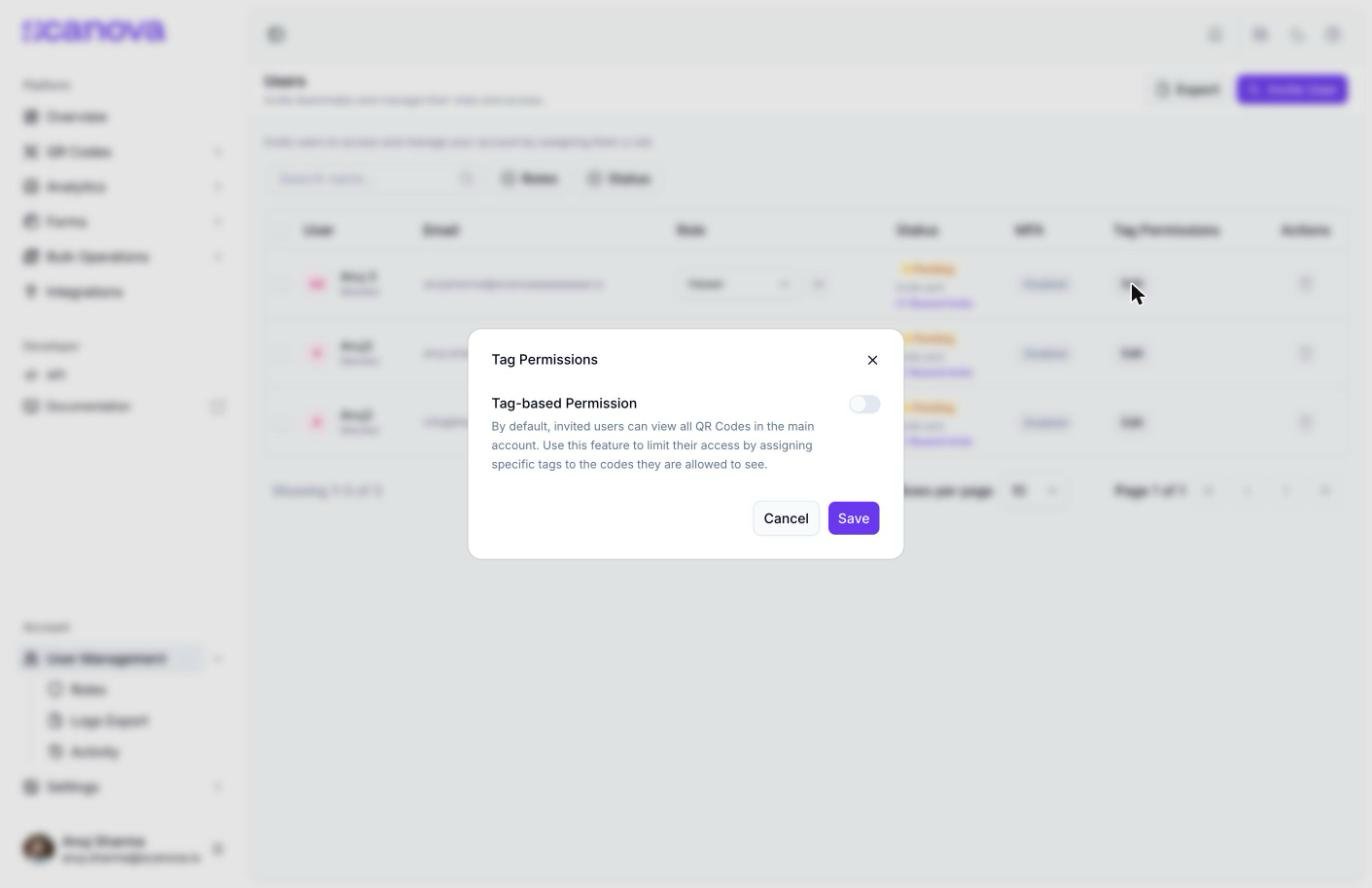
On accounts with the tag-based permissions feature enabled, each row’s Tag Permissions column has an Edit link opening a small Tag Permissions dialog — the same Tag-based Permission toggle (and, once turned on, the same Assign Tags and include untagged options) available at invite time, editable after the fact, with Cancel/Save buttons.
The per-user Tag Permissions dialog, opened from a row's Tag Permissions column
Click Export in the page header to download a CSV of every shared user on the account — including the account Owner — with columns for role, invite/acceptance timestamps, status, tag permissions, MFA status, QR Codes created, and last login.